Common Cross-Stitch Mistakes and How to Fix Them

Common Cross-Stitch Mistakes and How to Fix Them
Here’s a comforting truth: every single cross-stitcher, from absolute beginner to 30-year veteran, makes mistakes. The difference between frustration and a relaxing hobby is knowing how to spot mistakes early, fix them efficiently, and prevent the most common ones in the first place.
Miscounting: The Universal Cross-Stitch Problem
If cross-stitch had a nemesis, it would be miscounting. You stitch an entire section, move on to the next color, and realize nothing lines up because you were off by one row somewhere 45 minutes ago.
The Terminology
- Frogging: Ripping out stitches entirely. Named for the sound: “rip it, rip it” (ribbit, ribbit).
- Tinking: Carefully un-stitching one stitch at a time (it’s “knit” spelled backward, borrowed from the knitting world). More precise than frogging.
Tip
How to Fix a Miscount
If you just noticed (a few stitches ago): Tink back carefully, one stitch at a time. Use your needle to lift each stitch from underneath and gently pull it free. Don’t yank — you’ll distort the surrounding stitches and could damage the fabric.
If you’re many stitches past the error: You have a choice. Frog back to the mistake and re-stitch, or — and this is a valid option — assess whether the error matters. More on this below.
Preventing Miscounts
- Grid your fabric before you start. Mark every 10 stitches with a water-soluble pen or thread. This way, if you miscount, you catch it within a 10-stitch block. Learn more in our guide on gridding fabric techniques.
- Count from your last confirmed stitches, not from the edge. If you just finished a block you’re sure about, count from there.
- Use a needle minder (a magnetic tool that holds your needle to the fabric) to mark your place on the pattern when you stop stitching. Coming back to an unmarked pattern is where big miscounts happen.
- Highlight or cross off completed sections on a printed pattern copy. Never mark the original.
Twisted Floss: The Silent Quality Killer
Twisted floss creates stitches that look lumpy, uneven, and dull instead of smooth and shiny. Each time you pull your needle through the fabric, the thread twists slightly. Over many stitches, this builds into noticeable twisting.
How to Fix It
The dangle method: Every 10-15 stitches, let your needle hang freely from the fabric and spin. Gravity will untwist the thread naturally. Get into the habit of doing this regularly — it takes 5 seconds and makes a real difference.
The railroad technique: Before completing each stitch, use your needle to separate the two strands so they lay flat and parallel, like railroad tracks. Slide the needle between the strands and pull them apart slightly before pushing the needle through the fabric. This is fussy but produces the most beautiful, consistent stitches.
Prevention
- Strip your floss before stitching. Instead of pulling two strands together from the skein, pull out each strand individually and then put them back together. This removes the manufactured twist and lets the strands lay flatter.
- Use shorter thread lengths. Longer threads have more opportunity to twist. See the section on thread length below.
Inconsistent Tension
If some of your stitches look puffy and raised while others are pulled tight and flat, you have a tension problem. Consistent tension is what gives cross-stitch its beautiful, uniform texture.
Too Tight
Stitches pulled too tight cause the fabric to pucker and distort. You’ll see the fabric holes getting pulled into elongated shapes and the area around your stitching bunching up.
The fix: Consciously ease up. Your thread should lay on top of the fabric, forming a smooth X, without any pull on the surrounding fabric. If you can see the fabric dimpling as you pull a stitch through, you’re pulling too hard.
Too Loose
Loose stitches sit above the fabric surface, create visible loops, and can catch on things. They look sloppy and don’t cover the fabric properly.
The fix: After each stitch, give a gentle tug — just enough that the thread is snug against the fabric but not pulling it. The stitch should touch the fabric surface without being raised above it.
Finding the Sweet Spot
The ideal tension takes practice to internalize. A useful test: push a fingertip gently against a completed stitch. It should have a tiny bit of give but shouldn’t lift away from the fabric. Think of it as “resting on the surface” — not stretched into the fabric, not floating above it.
Using an embroidery hoop and keeping your fabric taut helps enormously with tension consistency. If your fabric is sagging in the hoop, tighten it. You should be able to tap the fabric and hear a drum-like sound.
Stitch Tension Comparison
Fabric puckers and distorts. Stitches pull the holes together, warping the grid.
Flat, even stitches sit neatly on the fabric. Grid stays straight and uniform.
Threads float and bow above the fabric. Visible gaps where thread should sit flat.
Wrong Stitch Direction
Every cross-stitch is two diagonal legs forming an X. The key rule: all your top stitches must go in the same direction throughout the entire piece. It doesn’t matter whether your top leg goes / or \, as long as it’s consistent.
Why It Matters
Inconsistent stitch direction catches light differently across your piece, creating a patchwork effect where some areas look brighter and some look duller. From a distance, it looks like uneven coloring even though you used the exact same thread.
How to Check
Look at your stitches from a low angle with a light source to one side. If the stitches are catching light uniformly, your direction is consistent. If some patches look shinier or duller than others, check those areas for reversed direction.
The Fix
Unfortunately, the only fix is to rip out the incorrectly oriented stitches and redo them. The good news: once you establish muscle memory for your preferred direction (most stitchers do bottom-left to top-right for the bottom leg, then bottom-right to top-left for the top leg), it becomes automatic.
Using Too-Long Thread
Many beginners cut thread in arm-length spans or even longer, thinking it saves time by reducing thread changes. In reality, long thread causes problems.
What Happens with Long Thread
- More twisting: Each pull through the fabric adds a twist. Longer thread = more pulls before the thread runs out = more accumulated twist.
- Fraying and thinning: Thread that passes through fabric many times gets worn. By the end of a long piece, the thread is noticeably thinner and fuzzier than at the start.
- Tangling and knotting: Longer thread is more likely to tangle, catch on previous stitches, or knot up mid-stitch.
Warning
The Ideal Length
About 18 inches (roughly the distance from your fingertips to your elbow). This is the guideline stitchers have followed for generations, and it strikes the perfect balance: long enough to get meaningful stitching done, short enough to avoid the problems above.
Some stitchers prefer even shorter — 12-15 inches — especially for specialty threads like metallics that are prone to shredding.
Fabric Fraying
As you handle your fabric, fold it, tighten it in hoops, and pull thread through the edges, the raw edges start to unravel. This is annoying at best and can compromise your stitching margin at worst.
Prevention Methods
- Masking tape or painter’s tape: Quick and easy. Fold tape over all four edges before you start. Remove when the piece is finished.
- Whip stitch the edges: A more permanent solution. Use regular sewing thread and stitch around all edges to prevent fraying. Takes 10 minutes and is very effective.
- Fray Check: A liquid sealant you apply to the raw edges. Dries clear and flexible. Available at any craft store.
- Serger/overlock: If you have access to a serger, this produces the neatest edges.
Running Out of Thread Mid-Color
Few things are more frustrating than running out of DMC 815 with 20 stitches to go and discovering your local store doesn’t carry it — or carries a different dye lot that doesn’t quite match.
Prevention
- Buy enough from the start. Most patterns list thread quantities. When in doubt, buy one extra skein of any color used for more than 100 stitches.
- Buy all your thread at once to ensure matching dye lots. DMC has been excellent about dye lot consistency, but variations can happen, especially with certain reds and blues.
- If you must buy a replacement, check the dye lot number on the skein label. If it matches, you’re fine. If it doesn’t, stitch a few test stitches next to your existing work and check in natural daylight for any visible difference.
If You Can’t Get a Match
You have two options:
- Blend it in: Start the new dye lot a few rows before you actually run out of the original, alternating between the two skeins in the transition area. The gradual change is much less noticeable than a hard line between dye lots.
- Use the new lot for a discrete section: If the color appears in separated areas of the design, use the original lot in one area and the new lot in another. As long as the two lots don’t meet, the difference will be invisible.
Dirty or Stained Fabric
Hours of handling means your white fabric may start to look gray, and that coffee splash from Tuesday night is still there.
Prevention
- Wash your hands before every stitching session. It takes 30 seconds and makes a real difference.
- Keep food and drinks at a safe distance from your project. Just far enough that a spill can’t reach.
- Store your project in a clean bag or container between sessions instead of leaving it out on the couch where it can collect dust, pet hair, and mystery stains.
Cleaning Stains
- General grime: Follow the washing guide in our washing, finishing, and framing article. A gentle soak in lukewarm water with mild soap removes oils and light stains.
- Pen or marker: If you used a water-soluble pen, soak in cold water. If you accidentally used a permanent marker, try rubbing alcohol on the back of the fabric (test first in a corner).
- Coffee or tea: Soak in cold water immediately. If the stain has set, try a solution of one part white vinegar to two parts cold water.
When to Rip Out vs. When to Leave It
This is genuinely one of the hardest judgment calls in cross-stitch. You found a mistake. Do you rip back hours of work, or let it go?
Rip It Out When…
- The mistake is in a prominent area (center of a face, text that would be misspelled, the focal point of the design)
- The error cascades — one wrong stitch has thrown off everything around it
- It will bother you every time you look at the finished piece
- You’re early in the project and the fix is relatively quick
Leave It When…
- It’s a single stitch in a large area of the same color
- The mistake is in a non-focal area (background, border, corner)
- The correction would require ripping out a huge section of otherwise correct stitching
- It passes the three-foot rule (see below)
Tip
The Three-Foot Rule
Hold your piece at arm’s length — about three feet away. Can you see the mistake? If not, it doesn’t matter. Your piece will spend its life on a wall, in a frame, viewed from a normal distance. Nobody is going to press their nose against it and count stitches.
Professional designers and experienced stitchers leave small mistakes all the time. In many traditional textile cultures, intentional “mistakes” are left as a sign of humility — only the divine creates perfection. Whether or not you subscribe to that philosophy, it’s a healthy reminder that a tiny imperfection doesn’t ruin a beautiful piece of handwork.
There’s even a saying in the cross-stitch community: “Every stitch was made by hand and with love. There are no mistakes, only design variations.”
Continue Learning
Prevention is the best fix. Build strong habits from the start:
- Getting Started with Cross-Stitch — learn correct technique from day one
- How to Read a Cross-Stitch Pattern Chart — master pattern reading to reduce counting errors
- Thread Management: Organization Tips for Stitchers — organized thread means fewer tangles and lost colors
- Gridding Fabric Techniques — the single best defense against miscounting
- How to Wash, Finish, and Frame Your Cross-Stitch — clean up stains and present your work beautifully
More Articles
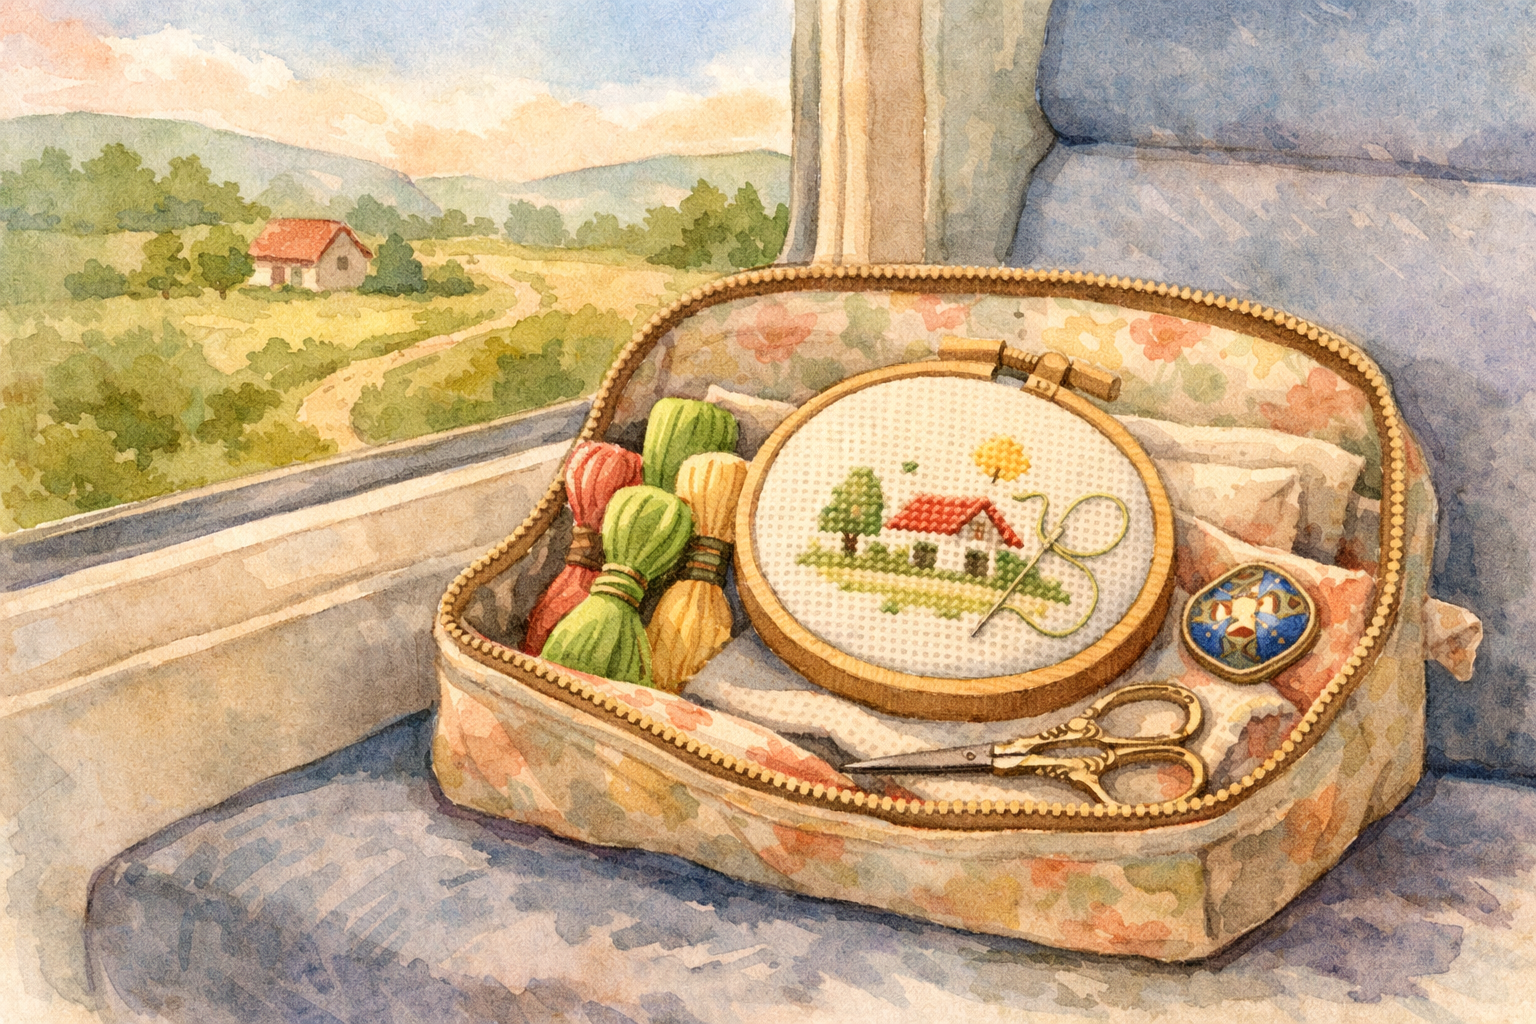
Traveling with Your Cross-Stitch Projects
Cross-stitch is the perfect portable craft. Learn how to pack your projects for travel, navigate airport security, and keep stitching wherever you go.
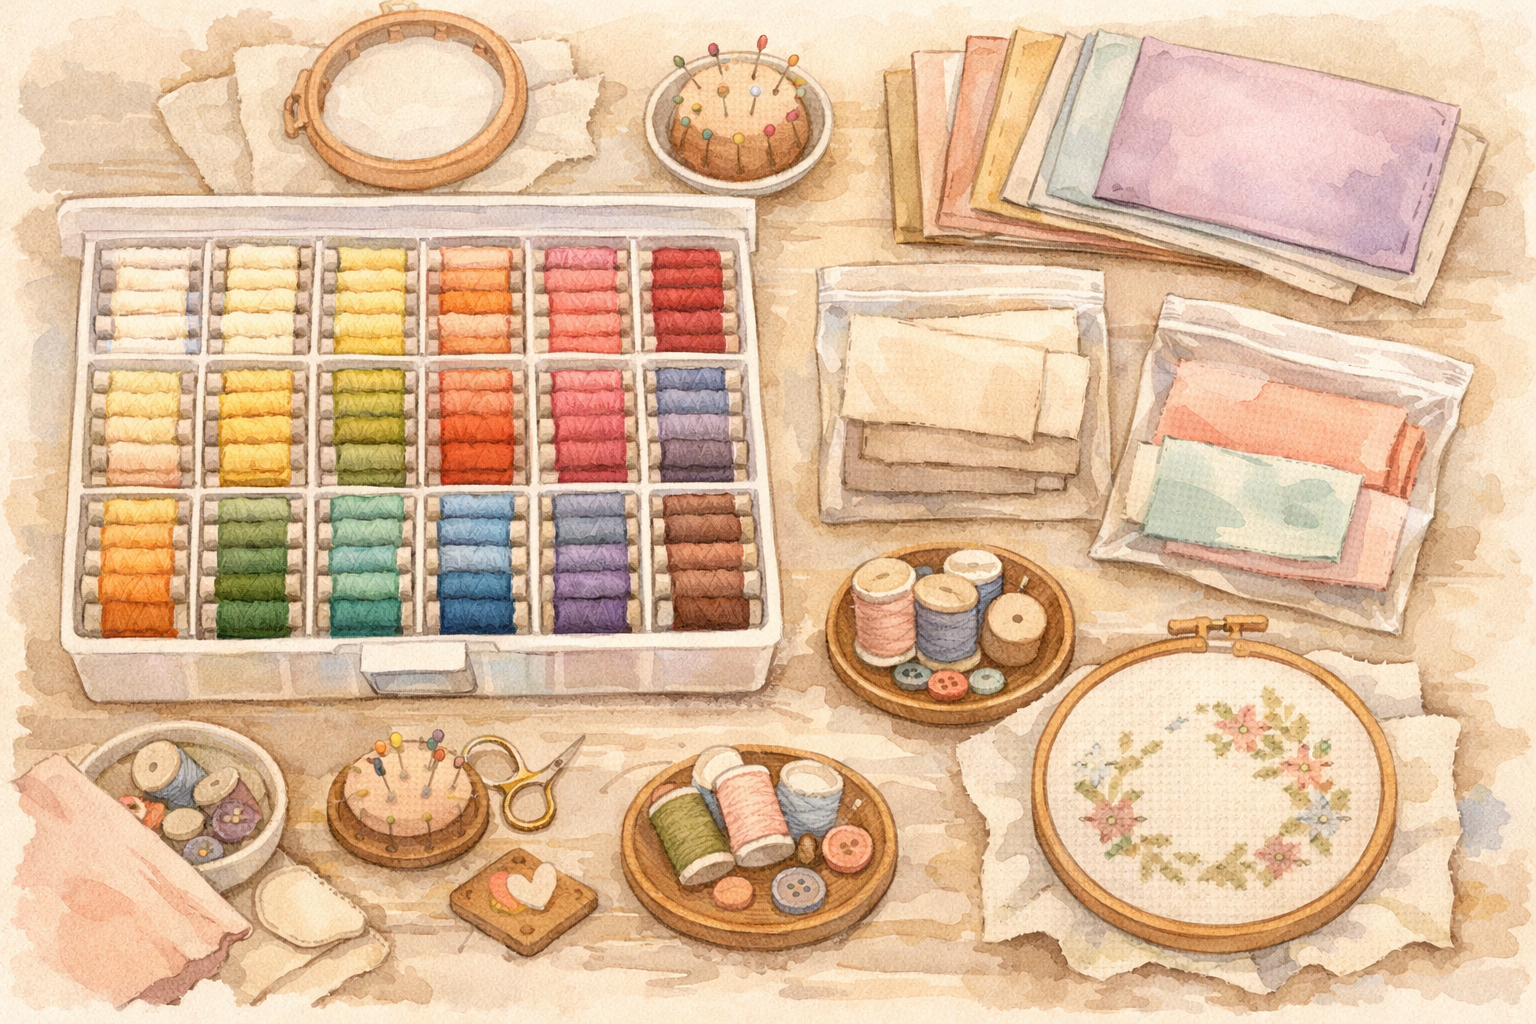
Organizing Your Cross-Stitch Stash
Fabric, floss, patterns, tools — your cross-stitch collection grows fast. Practical storage and organization strategies to keep your stash tidy and accessible.
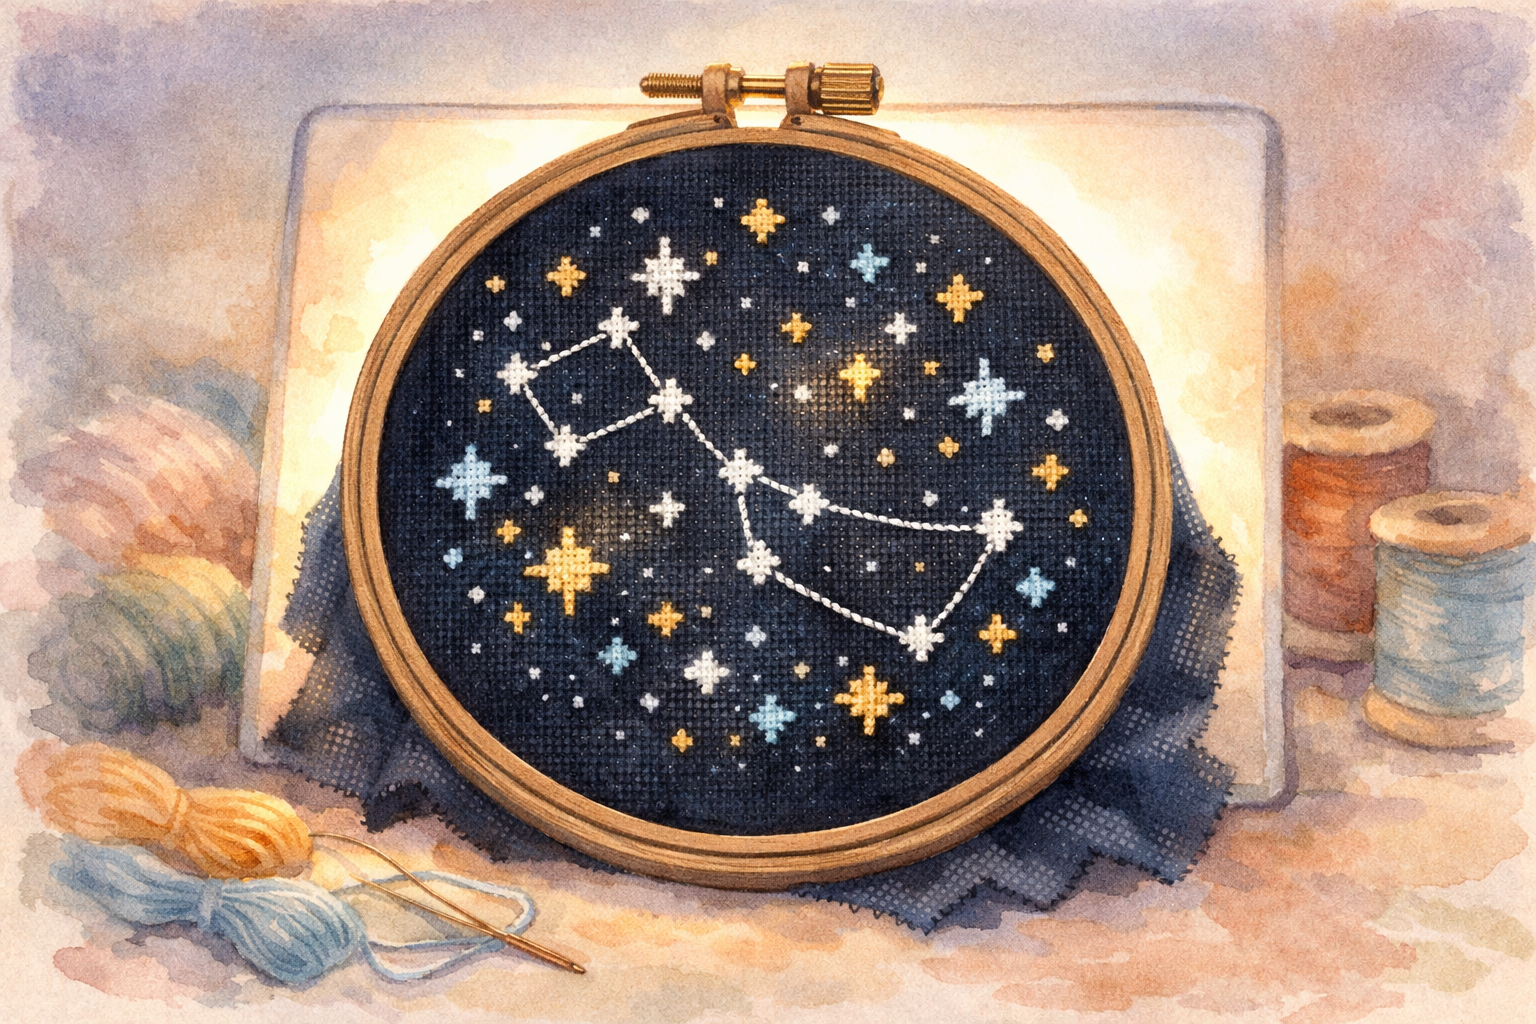
Stitching on Dark and Colored Fabrics
Dark and colored fabrics create stunning effects but come with unique challenges. Master the techniques for working with black, navy, and colored Aida and evenweave.