Stitching on Dark and Colored Fabrics
Stitching on Dark and Colored Fabrics
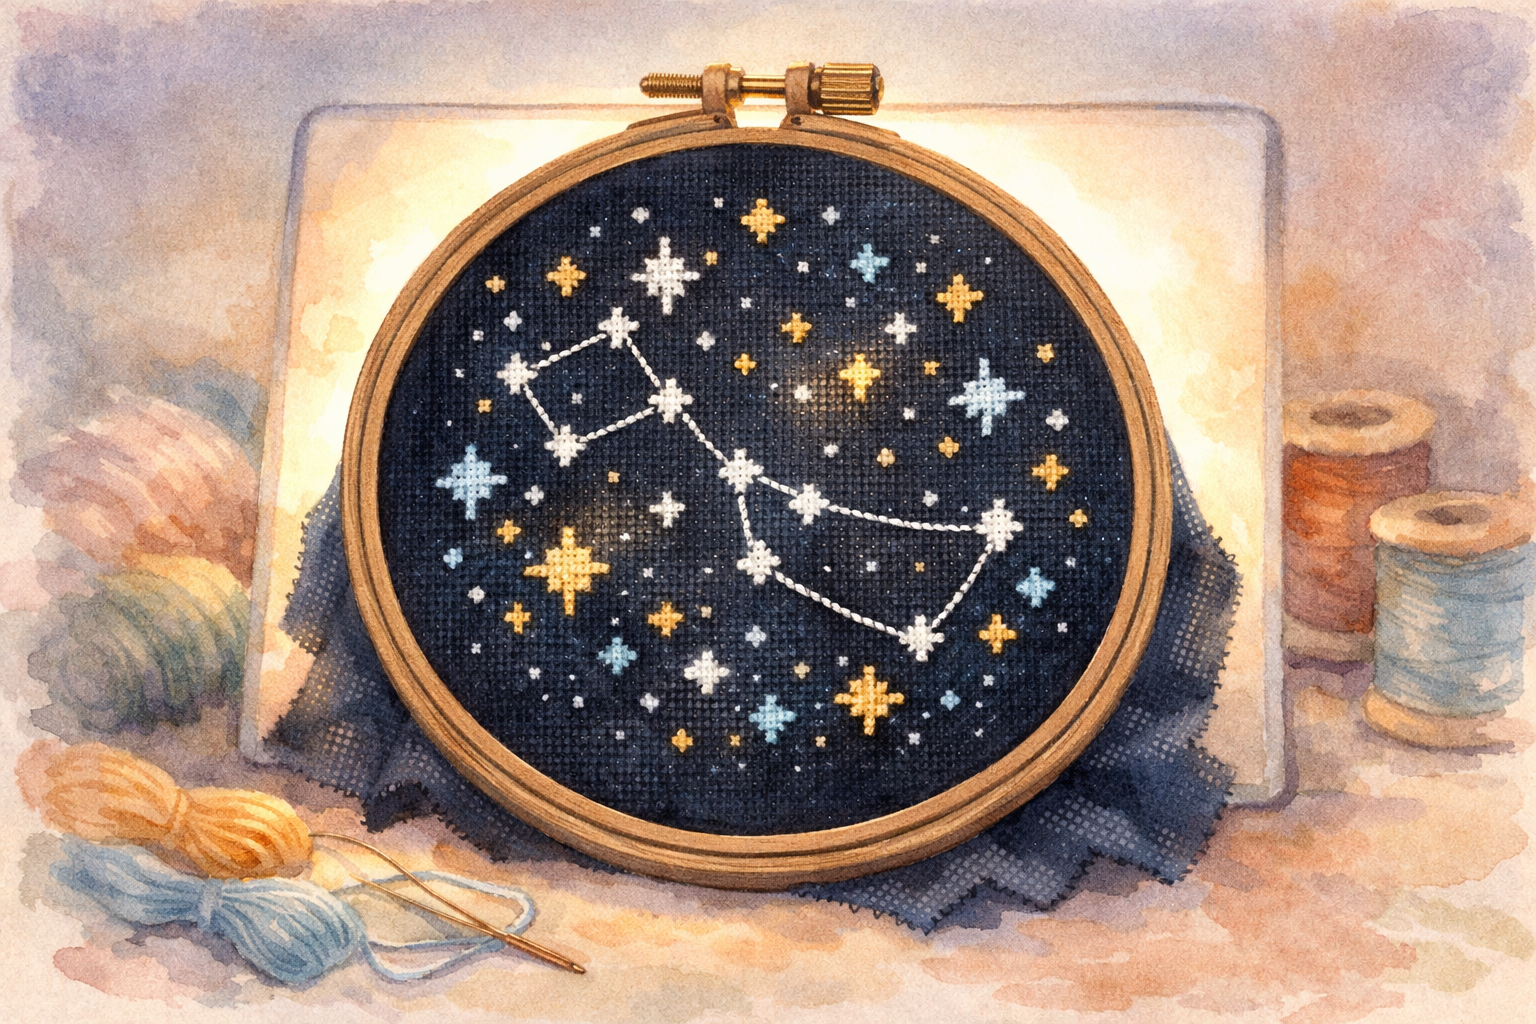
There’s a reason dark fabric projects stop people mid-scroll. A design stitched on black or navy Aida has a richness and drama that white fabric simply can’t match. The exposed fabric becomes part of the design — dark backgrounds make colors pop, add depth, and give finished pieces a professional, striking quality.
But working on dark fabric comes with real challenges. If you’ve only ever stitched on white or cream, your first dark fabric project will feel different. Here’s everything you need to know to make it a great experience.
Why Choose Dark Fabric?
Dark fabric works beautifully when:
- The design has a dark background — instead of stitching thousands of black or navy background stitches, you let the fabric do that work for you. This saves enormous amounts of time and thread.
- You want colors to pop — light and bright thread colors look more vibrant against a dark background than they do against white.
- The design includes negative space — galaxy scenes, night skies, silhouettes, and dark landscapes all benefit from dark fabric becoming part of the image.
- You want a more finished, professional look — dark fabric eliminates the “white border” effect that unstitched margins can create on lighter fabrics.
The Core Challenge: Seeing the Holes
This is the big one. On white Aida, the holes are clearly visible — each one is a tiny shadow against a bright background. On black fabric, the holes essentially disappear. You’re working with dark thread on a dark background, trying to find dark holes. It’s like threading a needle in a dimly lit room, except every stitch requires finding a new hole.
This doesn’t mean dark fabric is reserved for experts. It means you need to adjust your setup.
Lighting: The Most Important Upgrade
Good lighting transforms dark fabric stitching from frustrating to enjoyable. This is not an area to compromise.
Daylight LED Lamps
A bright, full-spectrum daylight LED lamp is the single best investment for dark fabric work. Position it to illuminate your fabric from above and slightly to the side, which creates tiny shadows in each hole and makes them visible. Look for lamps rated at 5000–6500K color temperature and at least 1000 lumens.
Popular choices among stitchers include the Ott-Lite brand lamps and the Daylight Company’s craft lamps. A good desk lamp or clip-on craft light works fine too — the key is brightness and positioning.
Light Pads (The Game-Changer)
Tip
A light pad (also called a light box or light board) is a thin, flat LED panel that you place underneath your fabric. It shines light up through the fabric, turning every hole into a tiny bright point. This is by far the most effective way to see holes on dark fabric.
Light pads designed for tracing or drawing work perfectly. A5 or A4 size is usually sufficient for the area visible through your hoop or frame. Place the light pad on your lap or on a table, drape your fabric over it (with hoop attached), and suddenly every hole glows.
Tips for using a light pad:
- Adjust brightness if your light pad has settings — you want enough light to see holes without it being blinding
- You only need light behind the section you’re actively stitching, so a smaller pad is fine
- Some stitchers use their iPad or tablet with a white screen as a makeshift light pad in a pinch
The White Towel Trick
If you don’t have a light pad, drape a white towel or piece of white fabric across your lap beneath your work. The white surface reflects ambient light back up through the fabric, making holes more visible. It’s not as effective as a dedicated light pad, but it helps noticeably and costs nothing.
Thread Coverage on Dark Fabric
On white fabric, the fabric color blends with lighter threads, so minor gaps in coverage aren’t obvious. On dark fabric, every tiny gap between stitches reveals the dark background underneath, which can make your stitching look less full.
When to Add an Extra Strand
If you normally stitch with 2 strands on 14-count Aida, consider using 3 strands when working on dark fabric — especially for lighter colors like white, yellow, and pastels where gaps would be most visible against the dark background.
The trade-off is that 3 strands are harder to pull through the fabric and use more thread per stitch. Some stitchers find that a good compromise is to use 3 strands only for the lightest colors and stick with 2 for medium and dark colors where gaps are less noticeable.
Railroading for Better Coverage
Info
Railroading means using your needle to separate the two (or three) strands so they lay side by side rather than twisting together. After pushing your needle through the fabric, bring it back down between the strands before completing the stitch. This spreads the thread more evenly across the square and improves coverage — especially valuable on dark fabric where gaps are visible.
Gridding on Dark Fabric
Gridding is almost essential for large projects on dark fabric. Without it, counting holes you can barely see becomes an exercise in frustration. See our complete gridding guide for detailed techniques, but here are the dark-fabric-specific considerations:
What Works
- White or light-colored thread gridding — a single strand of white or neon Easy Count Guideline thread is highly visible on dark fabric
- Light-colored washable pencil — white or silver fabric marking pencils can work, but test thoroughly before committing
- Fishing line — harder to see even on dark fabric, but provides a tactile guide
What Doesn’t Work
- Blue wash-out markers — invisible on dark fabric
- Regular pencil — won’t show up
- Dark-colored gridding thread — defeats the purpose
Choosing Thread Colors for Dark Backgrounds
Dark fabric changes how thread colors appear. Colors that look bold on white fabric can look completely different against black.
Colors That Shine on Dark Fabric
- Bright primaries (red, royal blue, bright yellow) — these pop dramatically
- Neon and fluorescent shades — they almost glow against dark backgrounds
- White and very light colors — maximum contrast creates striking details
- Metallics — gold, silver, and copper threads catch light beautifully against dark fabric
Colors That Can Get Lost
- Dark greens, dark blues, dark purples — these may be hard to distinguish from the fabric itself. Consider shifting to medium tones when substituting colors.
- Dark brown and maroon — can virtually disappear. If your pattern calls for these on dark fabric, check whether the designer intended them or if the pattern was designed for light fabric.
Testing Colors
Before committing to a full project, stitch a small test swatch on a scrap of your dark fabric with the thread colors you plan to use. What looks great in the skein might surprise you on the actual fabric.
Use the interactive preview below to see how different thread colors appear on various fabric backgrounds:
Thread on Fabric Preview
See how thread colors look on different fabric backgrounds. Dark fabrics can make light threads pop and hide dark ones.
Select Fabric Color
Threads on White Fabric
On light fabrics, most thread colors are clearly visible. Dark and saturated colors have the strongest contrast.
Working with Colored (Non-Dark) Fabrics
Dark fabric gets the most attention, but colored fabrics — sage green, dusty rose, light blue, oatmeal — bring their own considerations.
Color Interaction
Thread colors look different on every fabric color due to simultaneous contrast. A green thread looks more vibrant on red-toned fabric and more muted on green-toned fabric. Our guide on color theory for cross-stitch covers this in depth.
Coverage Visibility
On colored fabric, you’ll notice coverage gaps more than on white (though less than on black). Light-colored threads on a medium fabric will show gaps more than dark threads on the same fabric.
Dyeing Consistency
Colored fabrics — especially hand-dyed varieties — can have slight color variations across the piece. This is usually intentional and adds character, but be aware that the fabric color you see in one corner might be slightly different in another.
Protecting Your Eyes
Dark fabric stitching is harder on your eyes than light fabric work. The reduced contrast means your eyes work harder to focus, and you’ll fatigue faster.
Take More Frequent Breaks
The 20-20-20 rule is a good baseline: every 20 minutes, look at something 20 feet away for 20 seconds. For dark fabric work, consider taking an actual break (stand up, stretch, walk around) every 30–45 minutes instead of the hour you might manage on light fabric.
Warning
Monitor Eye Strain Symptoms
If you notice headaches, blurred vision, or your eyes feeling “gritty” after stitching, you need better lighting, more breaks, or both. Don’t push through eye strain — it will make the experience miserable and can cause lasting discomfort.
Consider Magnification
A magnifying lamp or clip-on magnifier can help, especially for higher-count fabrics. Some stitchers use inexpensive reading glasses (even without a prescription) for a slight magnification boost.
Helpful Accessories for Dark Fabric
A few tools that make dark fabric stitching easier:
- Magnetic needle minder — losing a needle on dark fabric is a real pain. A needle minder keeps your needle visible and accessible at all times.
- Laying tool — helps keep threads flat and parallel for better coverage
- Floor or table stand — freeing both hands lets you control thread tension and stitch placement more precisely, which matters more when you can’t see as well
- Thread organizer — sorting your threads before you start saves you from squinting at color numbers mid-project
Quick-Start Checklist for Your First Dark Fabric Project
- Get a good light — daylight LED minimum, light pad ideally
- Grid your fabric using white or light-colored thread
- Test your thread colors on a fabric scrap before starting
- Consider adding a strand for light-colored areas
- Set up a comfortable workspace with good posture and arm support
- Plan for shorter stitching sessions with regular eye breaks
- Use a needle minder so you never lose your needle on the dark surface
Further Reading
- Learn gridding techniques in detail with our gridding guide
- Understand how color interacts with fabric in our color theory guide
- Compare fabric types in our guide to cross-stitch fabrics
- Avoid common pitfalls in our common cross-stitch mistakes and fixes
More Articles
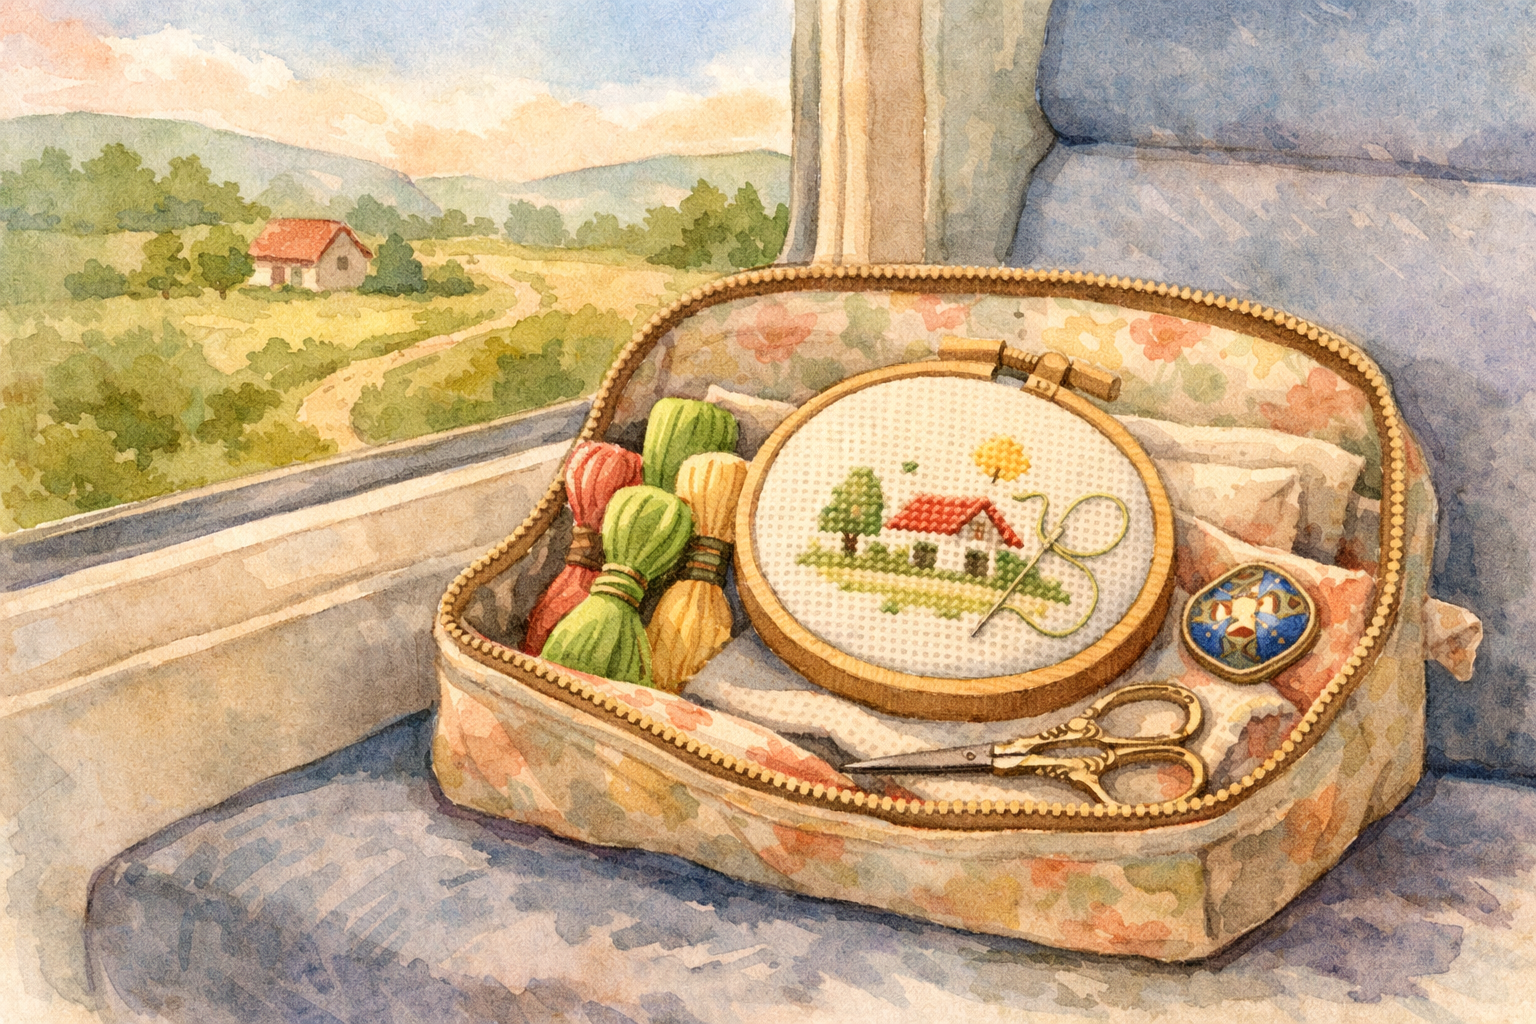
Traveling with Your Cross-Stitch Projects
Cross-stitch is the perfect portable craft. Learn how to pack your projects for travel, navigate airport security, and keep stitching wherever you go.
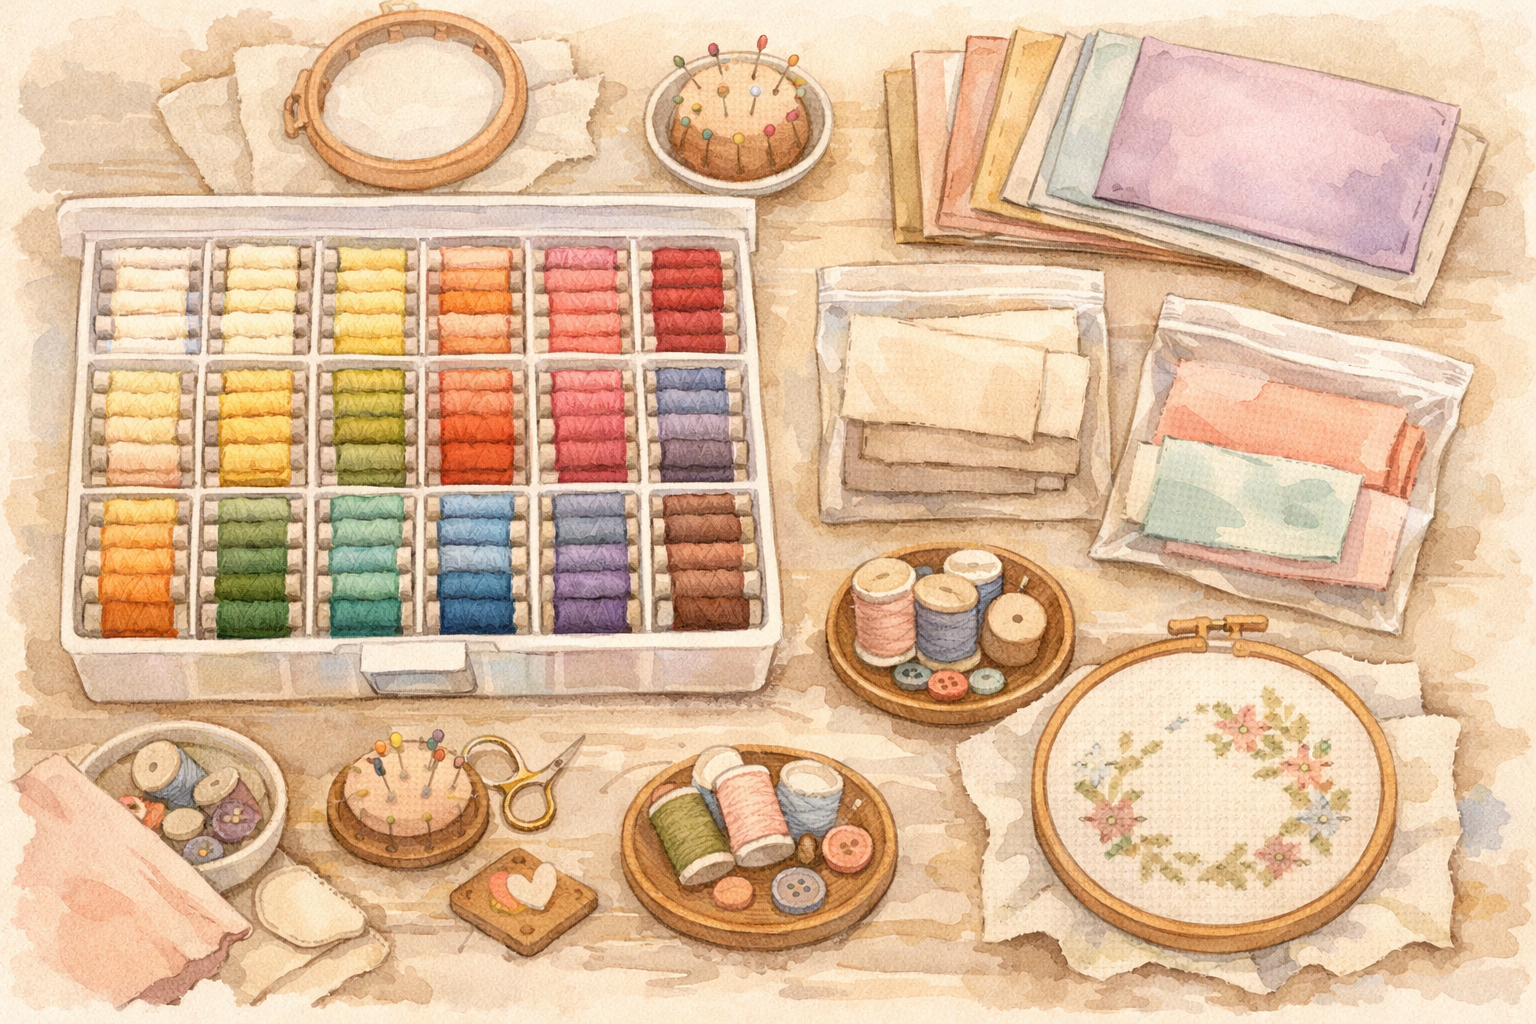
Organizing Your Cross-Stitch Stash
Fabric, floss, patterns, tools — your cross-stitch collection grows fast. Practical storage and organization strategies to keep your stash tidy and accessible.

Gridding Your Fabric: Techniques for Accurate Stitching
Gridding your fabric creates a visual guide that makes counting almost foolproof. Learn thread gridding, pen gridding, and other methods to keep your stitches on track.