Gridding Your Fabric: Techniques for Accurate Stitching

Gridding Your Fabric: Techniques for Accurate Stitching
If you’ve ever miscounted stitches and had to rip out an entire section of work, gridding might be about to become your new best friend. Gridding means marking lines on your fabric every 10 squares (both horizontally and vertically) so that your fabric mirrors the bold grid lines printed on your pattern chart. Instead of counting across 50 squares from your last reference point, you only ever need to count up to 10.
Why Gridding Works
Most cross-stitch pattern charts are printed with bold lines every 10 squares, creating a grid of 10x10 blocks. When you reproduce that same grid on your fabric, you can glance between chart and fabric and immediately see where you are. A stitch that’s 3 squares in from the left edge and 7 squares down from the top of a 10x10 block is easy to find on both the chart and the fabric.
The result: fewer counting errors, less frogging, and a much more relaxed stitching experience — especially on large or complex projects.
Try toggling different grid styles below to see how they look on fabric:
Grid Overlay Demo
See how gridding helps you keep your place when stitching. Toggle between grid styles.
No grid lines -- harder to count stitches on larger patterns.
Method 1: Thread Gridding
Thread gridding is the most popular method among experienced stitchers. You baste lines of contrasting thread across your fabric in a 10x10 grid, then remove them as you stitch over each section.
How to Do It
- Find your fabric center by folding the fabric in half both ways and marking the center point with a pin or small stitch.
- Choose a contrasting thread — bright red or neon pink monofilament works well on white fabric. Use a single strand of regular embroidery floss or specialized gridding thread.
- Start at the center and work outward. Using long running stitches (going over and under the fabric every few squares), create a vertical line along the center.
- Count 10 squares to the left and right of center and create parallel vertical lines.
- Repeat horizontally, creating lines every 10 squares up and down from center.
- Remove grid threads as you stitch each section — slide them out with your needle or tweezers.
Pros
- No risk of staining or marking your fabric
- Easy to remove section by section as you stitch
- Works on any fabric type and color
Cons
- Time-consuming to set up (can take 1–3 hours for a large piece)
- Grid threads can get caught under your stitching if you’re not careful to pull them free
- Requires careful attention during removal
Tip
Tips for Thread Gridding
- Use Easy Count Guideline thread — it’s specifically designed for gridding. It’s a smooth, slippery polyester that slides out cleanly and comes in bright colors.
- Don’t use regular cotton floss for gridding — it leaves fibers behind and is harder to remove.
- Weave over 3, under 1 for a good balance of visibility and easy removal. Some stitchers prefer over 5, under 1 for even easier removal.
- Leave tails at the edges so you can grab and pull the thread out when it’s time.
Method 2: Washable Pen or Pencil Gridding
If you’d rather draw lines than sew them, water-soluble fabric markers let you draw a grid directly on your fabric.
How to Do It
- Choose the right pen: Look for pens specifically labeled “water-soluble” or “wash-out” for fabric. Popular choices include the Dritz Mark-B-Gone (blue), Pilot FriXion pens (heat-erasable), and fine-tip water-soluble pencils.
- Test on a scrap first — always. Mark a piece of the same fabric, wait 24 hours, then wash it out to make sure it disappears completely.
- Use a ruler or grid ruler to draw straight lines every 10 squares.
- Draw lightly — you only need to see the lines, not engrave them.
Pros
- Much faster setup than thread gridding
- Lines don’t interfere with your stitching at all
- Clean, precise lines if you use a ruler
Cons
- Risk of permanent marks if you use the wrong pen or don’t wash properly
- Some pens can reappear in heat or over time (especially blue wash-out markers if not fully rinsed)
- Not ideal for projects that will take months — some markers fade or set over time
- Won’t work well on dark fabrics where the ink isn’t visible
Warning
Critical Warning About Markers
Blue wash-out markers (like Dritz Mark-B-Gone) are popular, but they carry a risk: if the marks are exposed to heat before being fully washed out — including ironing, tumble drying, or even hot humid storage — they can become permanent yellow-brown stains. Always wash thoroughly with cold water before applying any heat to your fabric.
Method 3: Fishing Line Gridding
This is a clever method that uses thin monofilament fishing line (2–4 lb test) threaded through the fabric in a grid pattern.
How to Do It
- Cut lengths of clear fishing line slightly longer than your fabric dimensions.
- Thread the fishing line through your fabric using the same running-stitch technique as thread gridding — over and under every few squares along each grid line.
- The line is nearly invisible but creates a subtle physical ridge you can feel with your needle.
Pros
- Nearly invisible on the fabric
- Won’t leave fibers or marks
- Reusable — pull it out and use it again on your next project
- Doesn’t interfere with stitching
Cons
- Harder to see than colored thread or pen marks (some stitchers find it too subtle)
- Can be slippery and harder to work with during setup
- The line can curl or shift if not secured at the edges
Setting Up Your Grid: Step by Step
Regardless of which method you choose, the setup process follows the same logic:
- Find and mark the center of your fabric. Fold in half vertically, then horizontally. The intersection is your center. Mark it with a pin.
- Find the center of your pattern chart. Most charts mark this with arrows on the edges.
- Start your grid at the center and work outward. This ensures your design is centered on the fabric.
- Mark every 10th row and column, working from center toward all four edges.
- Extend the grid to cover the entire stitching area plus a few extra lines as a buffer.
- Double-check by counting one of your 10-square sections to make sure it’s accurate. One wrong line throws off everything after it.
Info
When You Should Grid
Gridding takes time upfront, so it’s not always worth the investment. Here’s when it really pays off:
- Large projects (over 150 stitches in either dimension) — counting errors become much more likely
- Confetti-heavy designs — patterns with lots of scattered single stitches in different colors are a counting nightmare without a grid
- Full coverage pieces — when every square gets a stitch, there are no “landmarks” of empty fabric to orient yourself
- Stitching on dark fabric — holes are harder to see, so having a grid as a reference is invaluable (see our guide to stitching on dark and colored fabrics)
- Patterns without much backstitch — backstitch outlines can serve as natural gridlines; without them, you need the help
When You Can Skip It
- Small projects under 100 stitches per side — the overhead isn’t worth it
- Simple patterns with large blocks of single colors — easy to count and verify
- Patterns you’ve stitched before — familiarity reduces counting errors
- Designs with clear landmarks — distinctive features (like an eye in a portrait or a building in a landscape) give you natural reference points
Removing Your Grid
Thread Grid Removal
Pull grid threads out one at a time as you complete each section. Grip the tail at the fabric edge and slide the thread out gently. If it catches on a stitch, use tweezers to carefully work it free. Don’t yank — you risk distorting your stitches.
Pen Mark Removal
Soak the finished piece in cold water for 15–30 minutes. Gently agitate the water. Repeat if any marks remain. Do not use hot water or iron the fabric until you’re certain all marks are gone. Refer to our guide on washing, finishing, and framing for complete care instructions.
Making Your Grid Work Harder
A few extra tricks to get more out of your grid:
- Use different colors for the center lines — makes it easy to orient yourself at a glance
- Number your grid sections with small pencil marks in the margins (1A, 1B, 2A, 2B, etc.) to match a numbered chart
- Grid only the area you’re currently working on rather than the entire fabric — saves setup time on very large projects
- Take a photo of your gridded fabric before you start stitching, so you have a reference if a grid line gets displaced
Further Reading
- Learn the basics of reading charts in our pattern chart guide
- Working on dark fabric? Read our guide to stitching on dark and colored fabrics
- Avoid common pitfalls with our common cross-stitch mistakes and fixes
More Articles
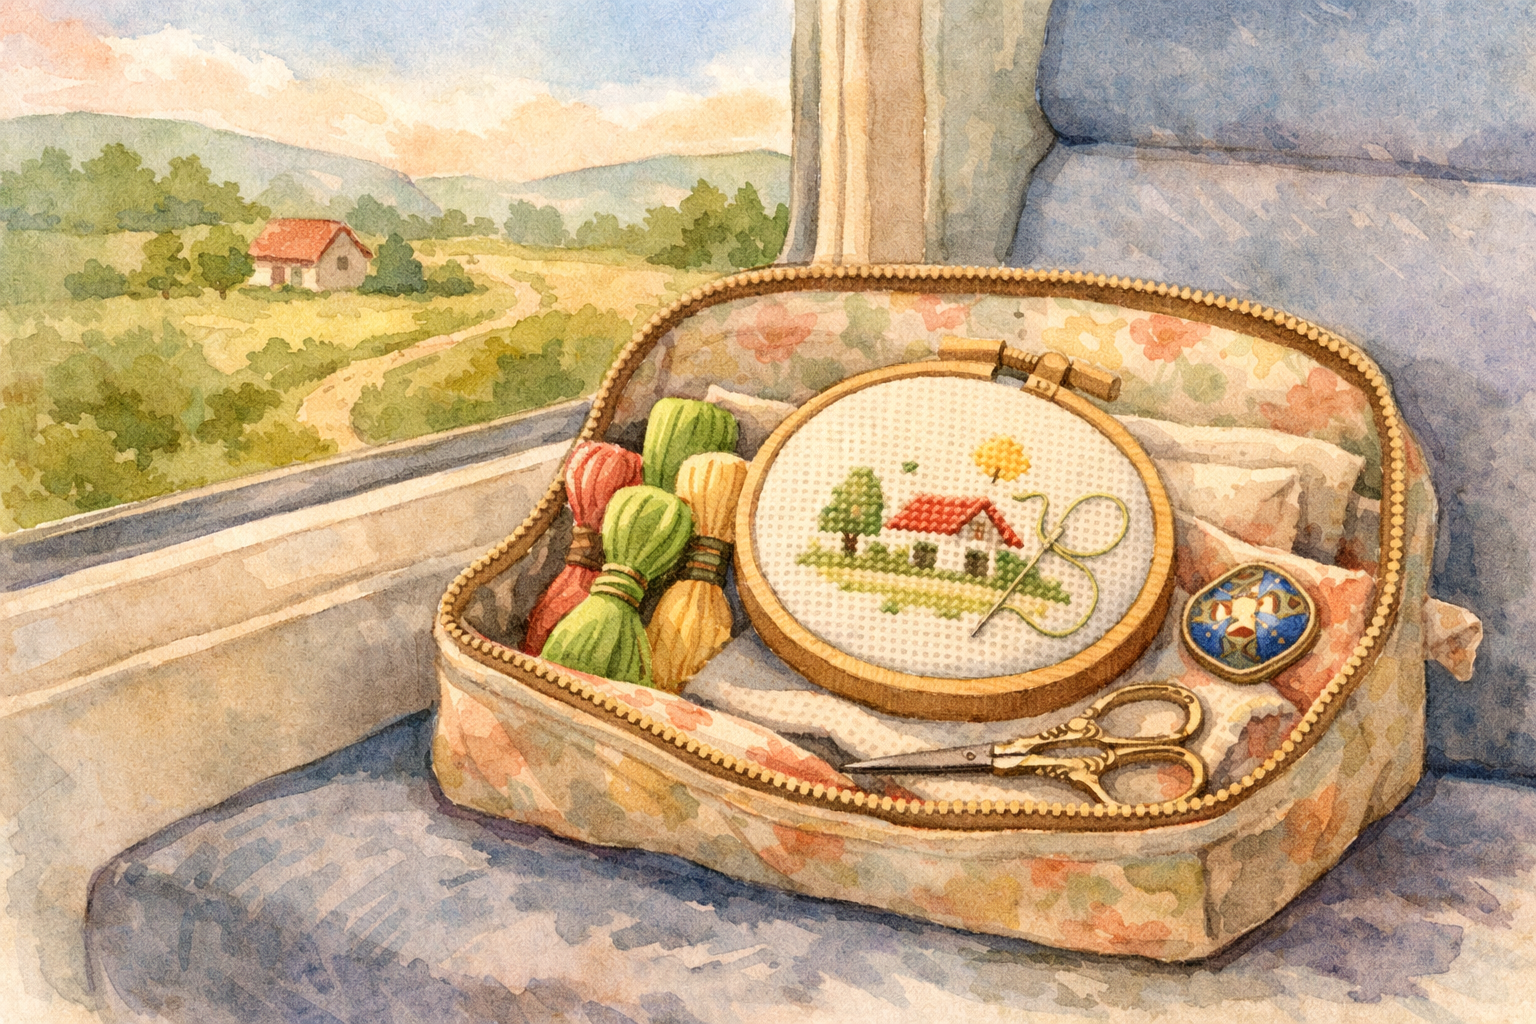
Traveling with Your Cross-Stitch Projects
Cross-stitch is the perfect portable craft. Learn how to pack your projects for travel, navigate airport security, and keep stitching wherever you go.
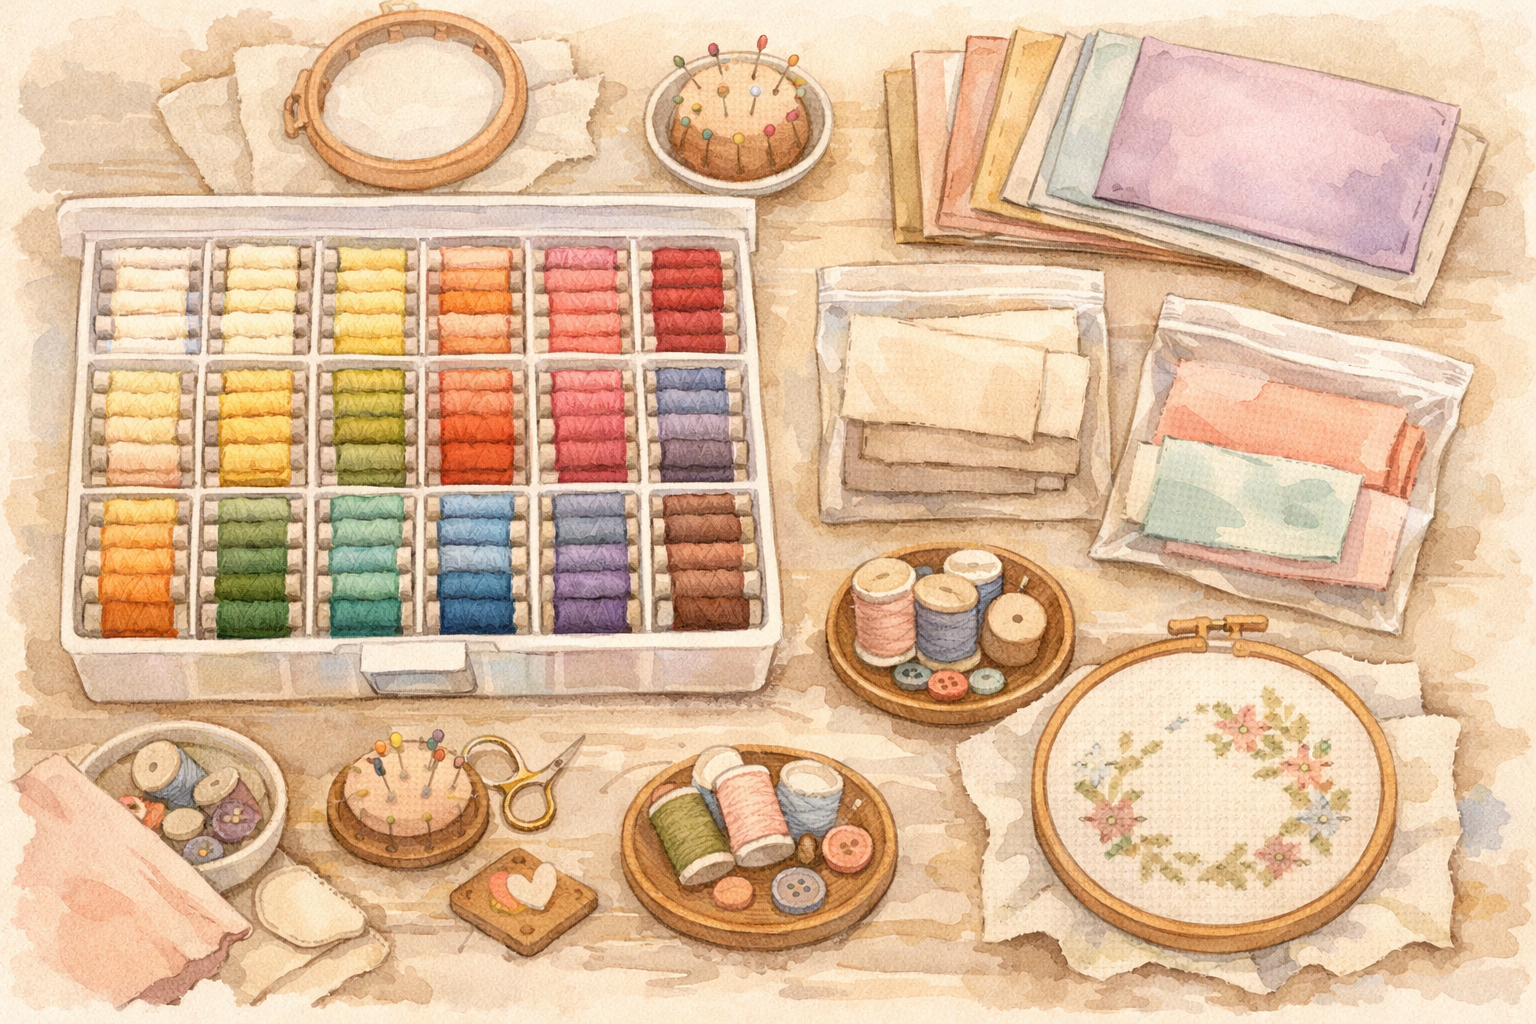
Organizing Your Cross-Stitch Stash
Fabric, floss, patterns, tools — your cross-stitch collection grows fast. Practical storage and organization strategies to keep your stash tidy and accessible.
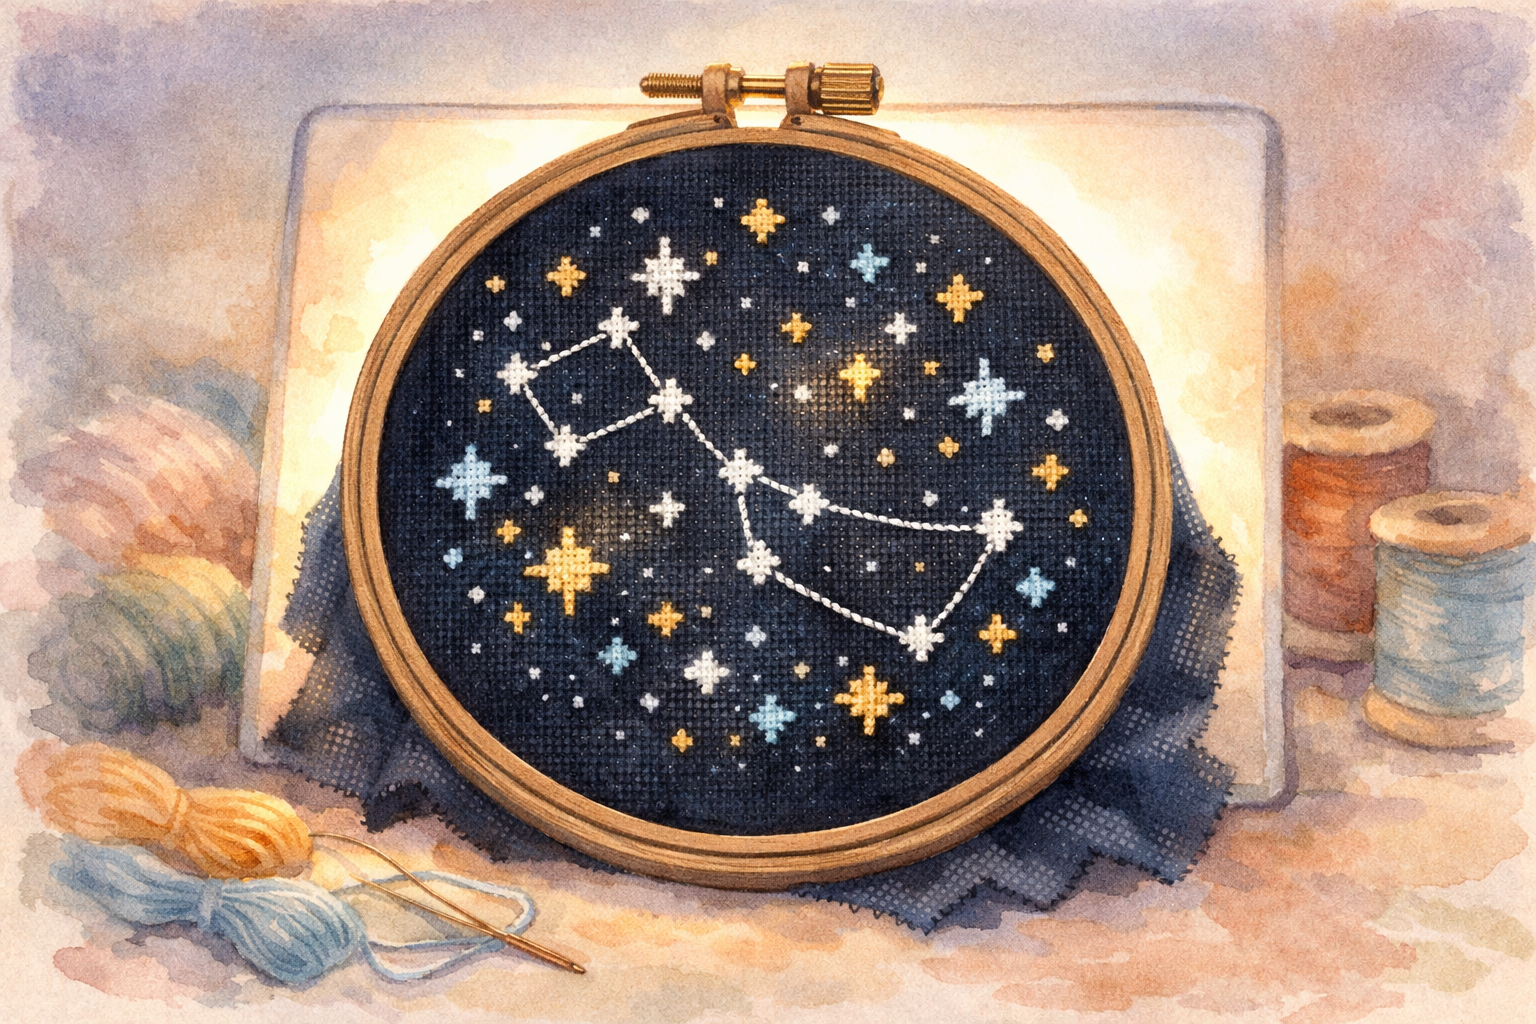
Stitching on Dark and Colored Fabrics
Dark and colored fabrics create stunning effects but come with unique challenges. Master the techniques for working with black, navy, and colored Aida and evenweave.