How to Wash, Finish, and Frame Your Cross-Stitch
How to Wash, Finish, and Frame Your Cross-Stitch
You’ve placed your last stitch, woven in your last thread end, and stepped back to admire your work. Congratulations! But before you frame it, there’s an important step most beginners skip: washing. Properly finishing your cross-stitch is the difference between a piece that looks homemade and one that looks professional.
Why Washing Matters
Even if your piece looks clean, it isn’t. Over the hours (or months) you spent stitching, your hands transferred natural oils to the fabric and thread. These oils may not be visible now, but over time they’ll oxidize and create yellowish stains that are nearly impossible to remove once set.
Beyond body oils, you might have:
- Pencil or pen marks from gridding your fabric
- Hoop marks — indentations and slight discoloration from your embroidery hoop
- Dust and pet hair embedded in the fibers
- Water-soluble marker lines that need to be removed before heat sets them
Washing removes all of this and gives your piece a fresh, bright appearance.
Step-by-Step Washing Guide
What You’ll Need
- A clean basin, bowl, or sink (no residue from cleaning products)
- Lukewarm water (not hot — heat can cause colors to bleed)
- A tiny drop of mild, clear dish soap (Dawn or similar) or a dedicated textile wash
- A clean, white towel
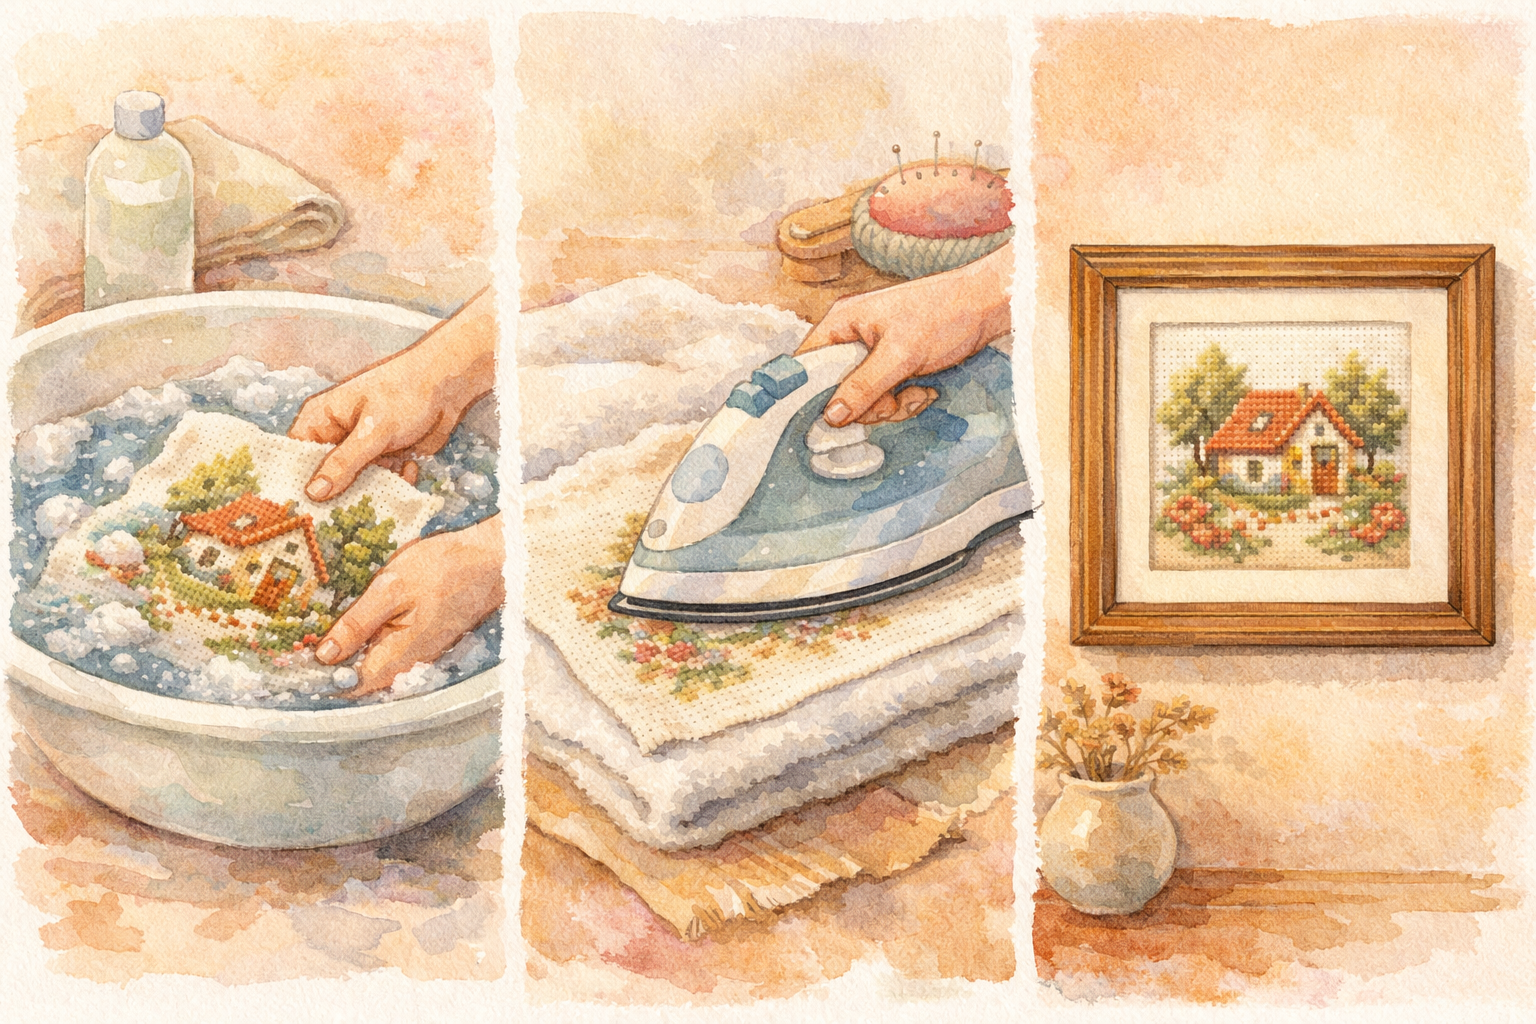
The Washing Process
- Fill your basin with lukewarm water. Test with your wrist — it should feel barely warm.
- Add a small drop of soap — less than you think. A pea-sized amount is plenty. Swirl to distribute.
- Submerge your piece gently. Don’t crumple or wring it. Lay it flat in the water and press it down softly.
- Let it soak for 15-20 minutes. This is doing the heavy lifting — the soap is breaking down oils while the water dissolves any water-soluble marks.
- Gently swish the fabric a few times. You can softly rub any stubborn marks with your fingertip, but avoid rubbing the stitches directly.
- Drain and rinse with clean, cool water. Rinse until all soap residue is gone — usually 2-3 rinses. Soap residue left behind can attract dirt over time.
- Do not wring. Seriously. Wringing can distort your stitches and stretch the fabric permanently.
Fill your basin
Use lukewarm water — test with your wrist, it should feel barely warm.
Add a drop of soap
A pea-sized amount of mild, clear dish soap is plenty. Swirl to distribute.
Submerge your piece
Lay it flat in the water and press it down softly. Don't crumple or wring.
Let it soak
Wait 15-20 minutes. The soap breaks down oils while the water dissolves water-soluble marks.
Gently swish
Swish the fabric a few times. Softly rub stubborn marks with your fingertip, avoiding the stitches directly.
Drain and rinse
Rinse with clean, cool water until all soap residue is gone — usually 2-3 rinses.
Do not wring
Wringing can distort stitches and permanently stretch fabric. Lay flat on a towel instead.
Warning
A Note on Color Bleeding
Quality DMC, Anchor, and other major-brand threads are colorfast and shouldn’t bleed. However, if you used hand-dyed threads, variegated threads from smaller brands, or are unsure about a particular red or dark color, test first: dampen a cotton swab and press it against the thread on the back of your work. If color transfers, skip the soaking and just do a quick rinse.
If color does bleed during washing, don’t dry the piece. Instead, keep rinsing in cool water immediately. You can also add a color catcher sheet (like Shout Color Catcher) to the rinse water. Most bleeding can be reversed if you act quickly.
Drying Your Cross-Stitch
- Lift the piece out of the water and lay it flat on a clean, white towel. (Colored towels can transfer dye to damp fabric.)
- Roll the towel with the cross-stitch inside, pressing gently to absorb excess water. Don’t twist.
- Unroll and transfer to a dry section of the towel (or a fresh towel).
- Lay flat to dry in a well-ventilated area away from direct sunlight. Reshape the fabric if it has shifted.
- Don’t hang it — the weight of the water will stretch the fabric unevenly.
Drying typically takes a few hours. You want the piece slightly damp (not wet, not bone-dry) for the pressing step.
Pressing and Ironing
Pressing removes wrinkles and hoop marks and gives your piece that crisp, professional finish. The technique matters here — ironing cross-stitch is not like ironing a shirt.
The Right Way to Press
- Place a soft, thick towel on your ironing surface. A fluffy bath towel works well.
- Lay your cross-stitch face-down on the towel. Face down is critical — pressing from the front will flatten your stitches and make them lose their dimensional texture.
- Set your iron to medium heat with steam. If you’re using synthetic blend fabric, use low heat.
- Press gently — don’t drag the iron. Lift and place, lift and place. Let the steam and heat do the work.
- Pay extra attention to hoop mark areas, pressing firmly but carefully.
- Let the piece cool face-down on the towel before moving it. This helps the fabric hold its pressed shape.
Prepare a soft surface
Place a soft, thick bath towel on your ironing board or flat surface.
Position face-down
Lay your cross-stitch face-down on the towel. This is critical — pressing from the front flattens your stitches.
Set iron to medium heat
Use medium heat with steam. For synthetic blend fabrics, use low heat instead.
Press gently
Lift and place the iron — don't drag it. Let steam and heat do the work.
Target hoop marks
Pay extra attention to hoop mark areas, pressing firmly but carefully.
Cool face-down
Let the piece cool face-down on the towel before moving. This helps hold the pressed shape.
Tip
If your piece is completely dry and wrinkled, spritz it lightly with water before pressing, or use the steam function on your iron.
Mounting Your Cross-Stitch
Before framing, you need to mount your piece on a rigid backing to keep it taut and smooth. There are two main approaches.
Method 1: Self-Mount on Foam Core or Acid-Free Board
This is the quickest method and works well for pieces you’re framing yourself.
- Cut acid-free foam core or mat board to the size of your frame opening.
- Center your stitching on the board.
- Fold the excess fabric to the back and secure with acid-free tape or pins.
- Make sure the fabric is pulled evenly on all sides — no puckering or sagging.
Method 2: Lacing (The Professional Way)
Lacing takes more time but produces the best results and is completely reversible — important for heirloom pieces.
- Cut your backing board to size.
- Center your cross-stitch on the board.
- Fold the top and bottom fabric edges to the back.
- Using strong thread (quilting thread or crochet cotton), lace back and forth between the top and bottom edges in a zigzag pattern, pulling gently to create even tension.
- Repeat for the left and right sides.
- Adjust tension as needed until the front is perfectly smooth.
Lacing keeps the piece secure without adhesives and allows you to remove and remount it in the future without damage.
Framing Options
Purchased Frames
Standard photo frames work fine for cross-stitch, especially for casual displays. Look for frames with enough depth to accommodate the mounted fabric. Shadow box frames are particularly good because they provide extra space between the glass and the stitching.
Embroidery Hoop as Frame
For a charming, crafty look, display your piece in the hoop you stitched it in (or a nicer display hoop). Trim the excess fabric to about an inch, fold it to the back, and secure with glue or running stitches. You can wrap the hoop with ribbon or fabric for a polished look.
This works especially well for small pieces, round designs, and seasonal decorations.
Custom Professional Framing
For pieces you’ve invested significant time in, professional framing is worth the cost. When working with a framer, ask for:
- UV-protective glass (or museum glass) to prevent fading from sunlight. This is the single most important thing you can do to preserve your piece.
- Acid-free matting and backing to prevent yellowing and deterioration over time.
- Spacers between the glass and the stitching so the glass doesn’t press against your work. Compressed stitches can develop mold in humid environments.
- Conservation framing if the piece is an heirloom — this uses all archival materials and is fully reversible.
Info
Expect custom framing to cost $75-200+ depending on size, glass type, and frame selection. It’s an investment, but for a piece you spent 100+ hours on, it’s worth protecting properly.
Storing Finished Pieces
Not ready to frame something yet? Store your finished cross-stitch properly:
- Roll, don’t fold. Folding creates creases that can be difficult to remove and may stress the threads. Roll around an acid-free cardboard tube with the stitching facing outward.
- Wrap in acid-free tissue paper to protect from dust and light.
- Store in a cool, dry place away from direct sunlight, moisture, and temperature extremes.
- Avoid plastic bags for long-term storage — they trap moisture and can promote mold. Cotton fabric bags or acid-free boxes are better options.
Continue Learning
Now that you know how to give your finished pieces the presentation they deserve:
- Getting Started with Cross-Stitch — brush up on the basics
- A Guide to Cross-Stitch Fabrics — choosing the right fabric makes finishing easier
- Common Cross-Stitch Mistakes and How to Fix Them — fix issues before washing and framing
- Choosing Your First Cross-Stitch Project — ready for the next project?
More Articles
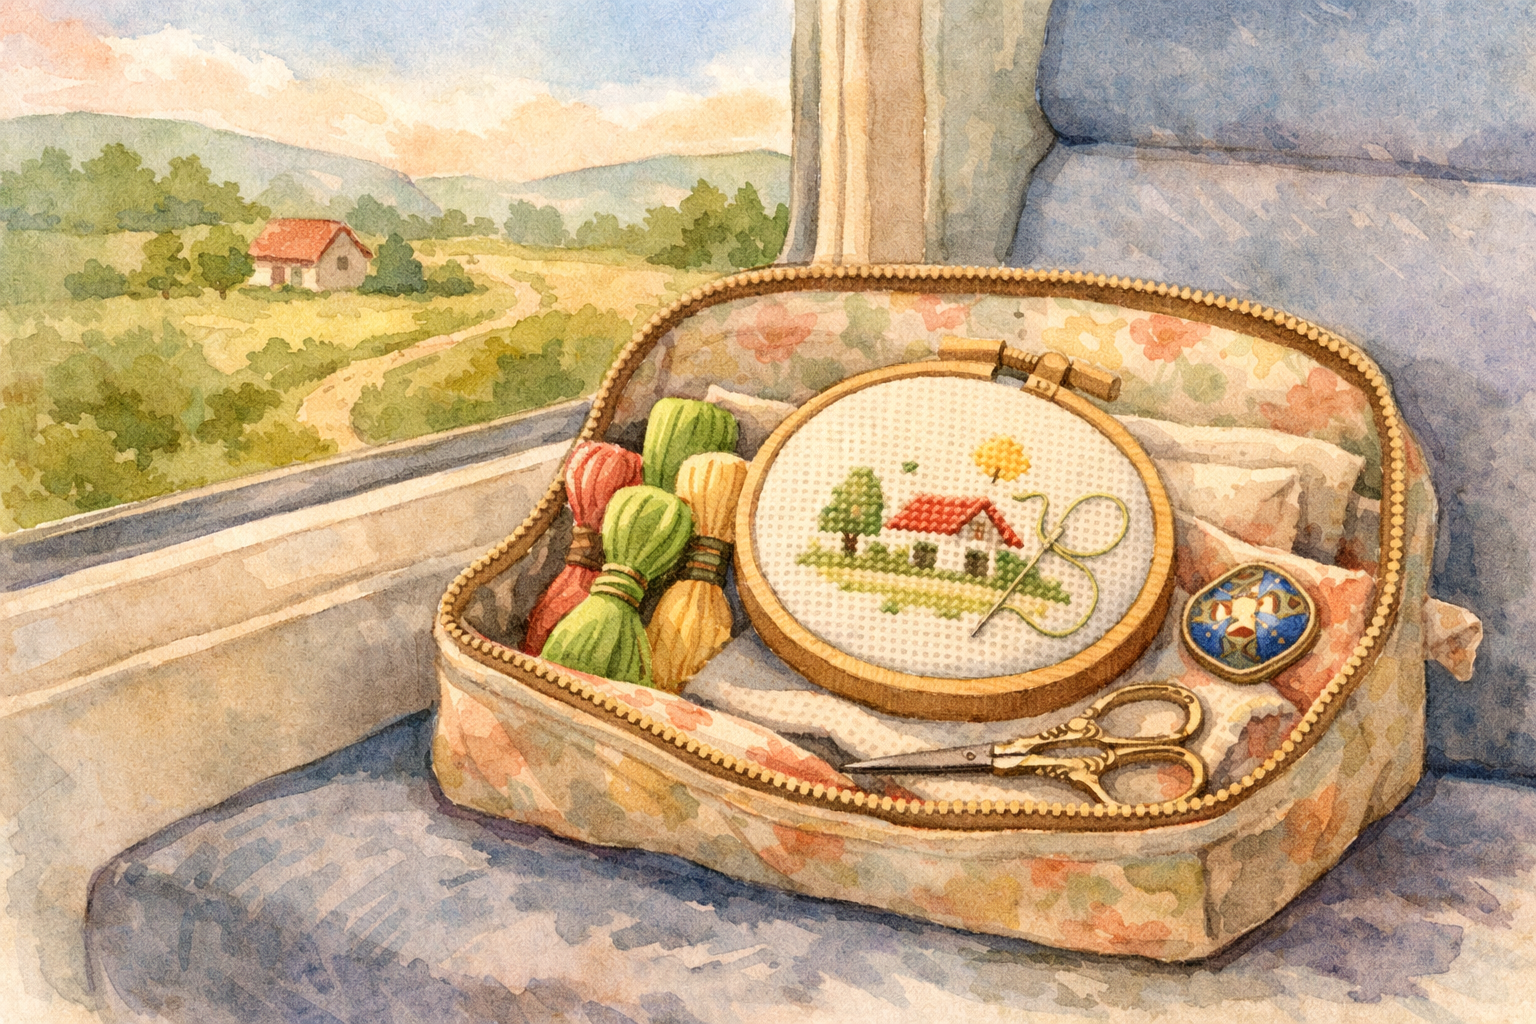
Traveling with Your Cross-Stitch Projects
Cross-stitch is the perfect portable craft. Learn how to pack your projects for travel, navigate airport security, and keep stitching wherever you go.
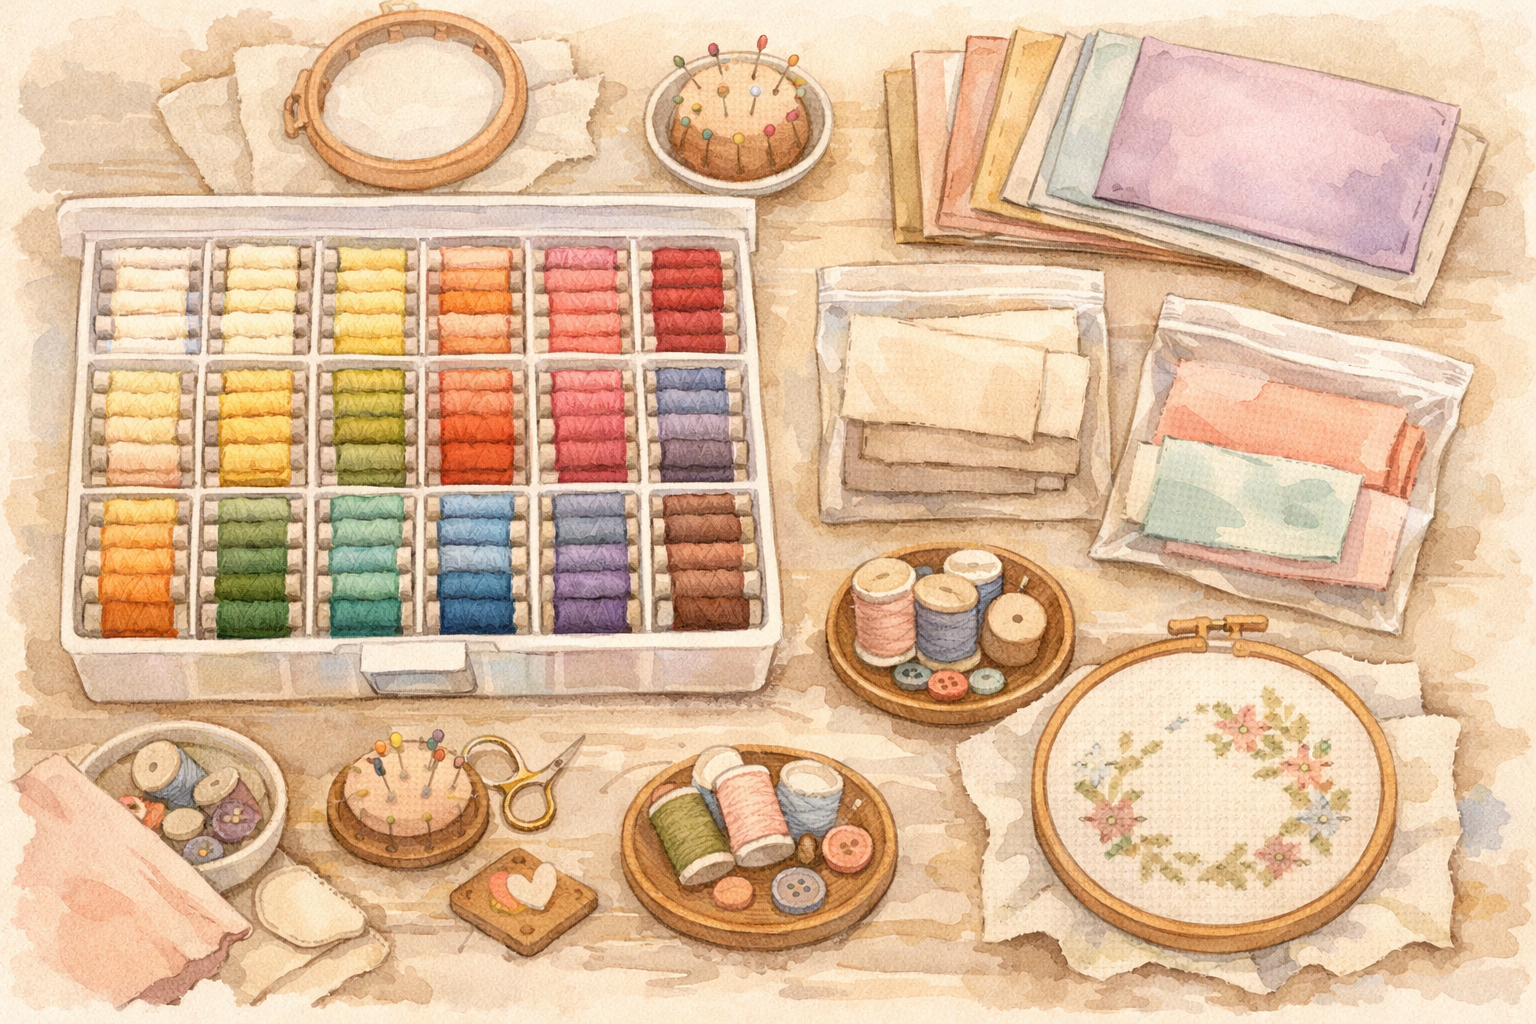
Organizing Your Cross-Stitch Stash
Fabric, floss, patterns, tools — your cross-stitch collection grows fast. Practical storage and organization strategies to keep your stash tidy and accessible.
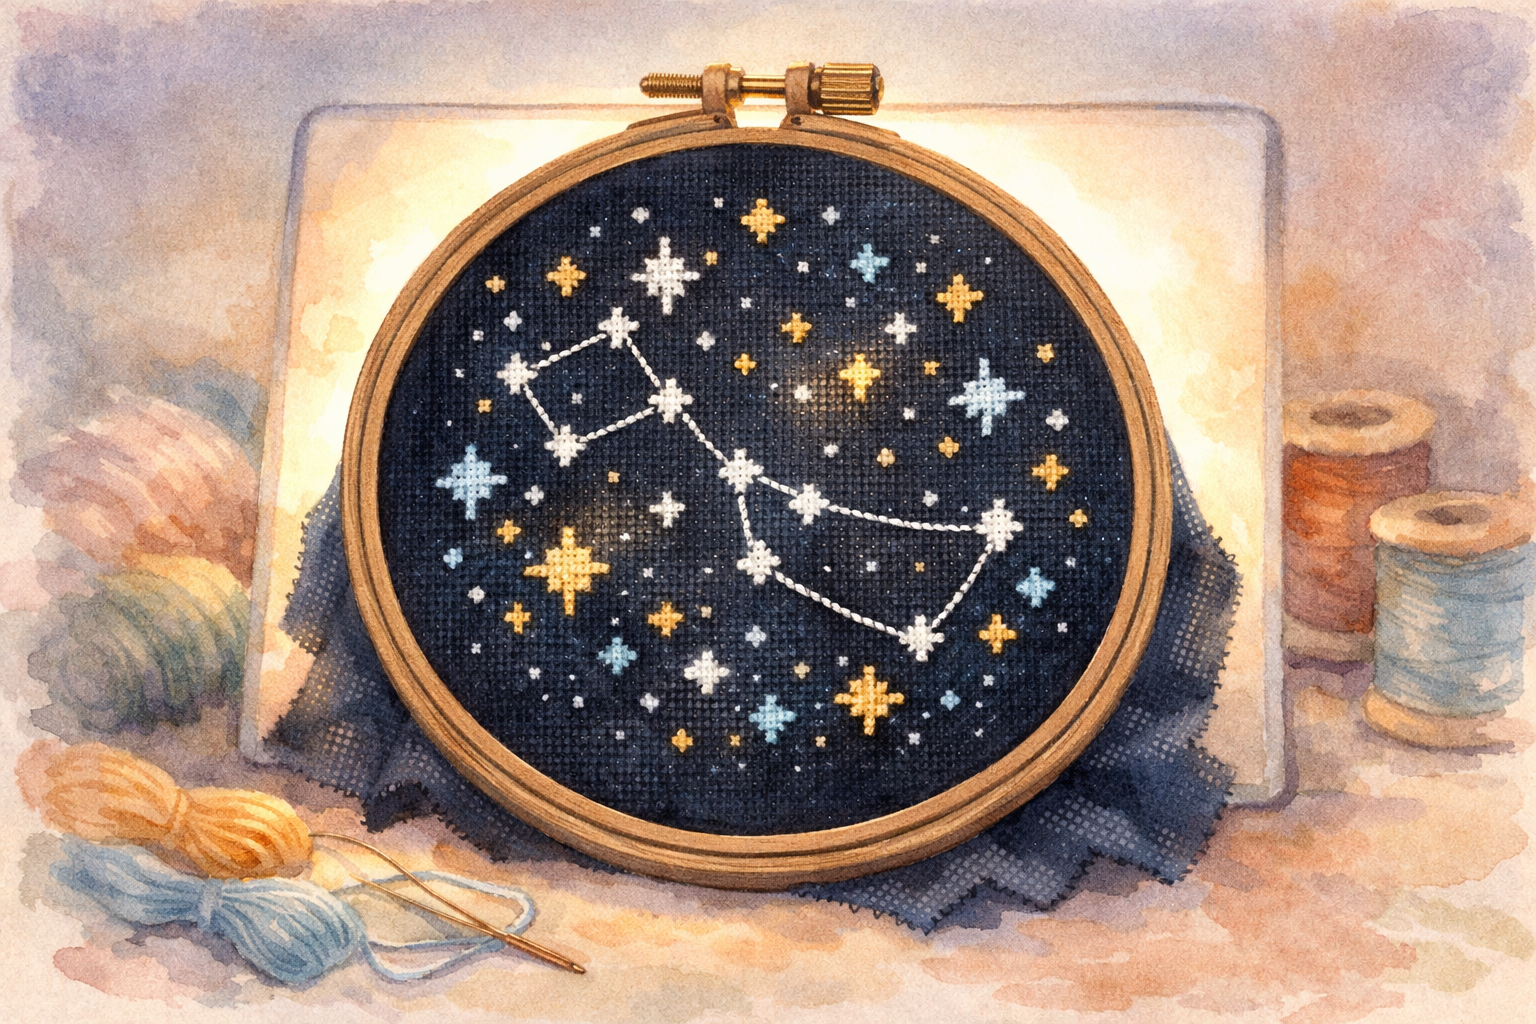
Stitching on Dark and Colored Fabrics
Dark and colored fabrics create stunning effects but come with unique challenges. Master the techniques for working with black, navy, and colored Aida and evenweave.