Getting Started with Cross-Stitch: A Complete Beginner's Guide
Getting Started with Cross-Stitch: A Complete Beginner’s Guide
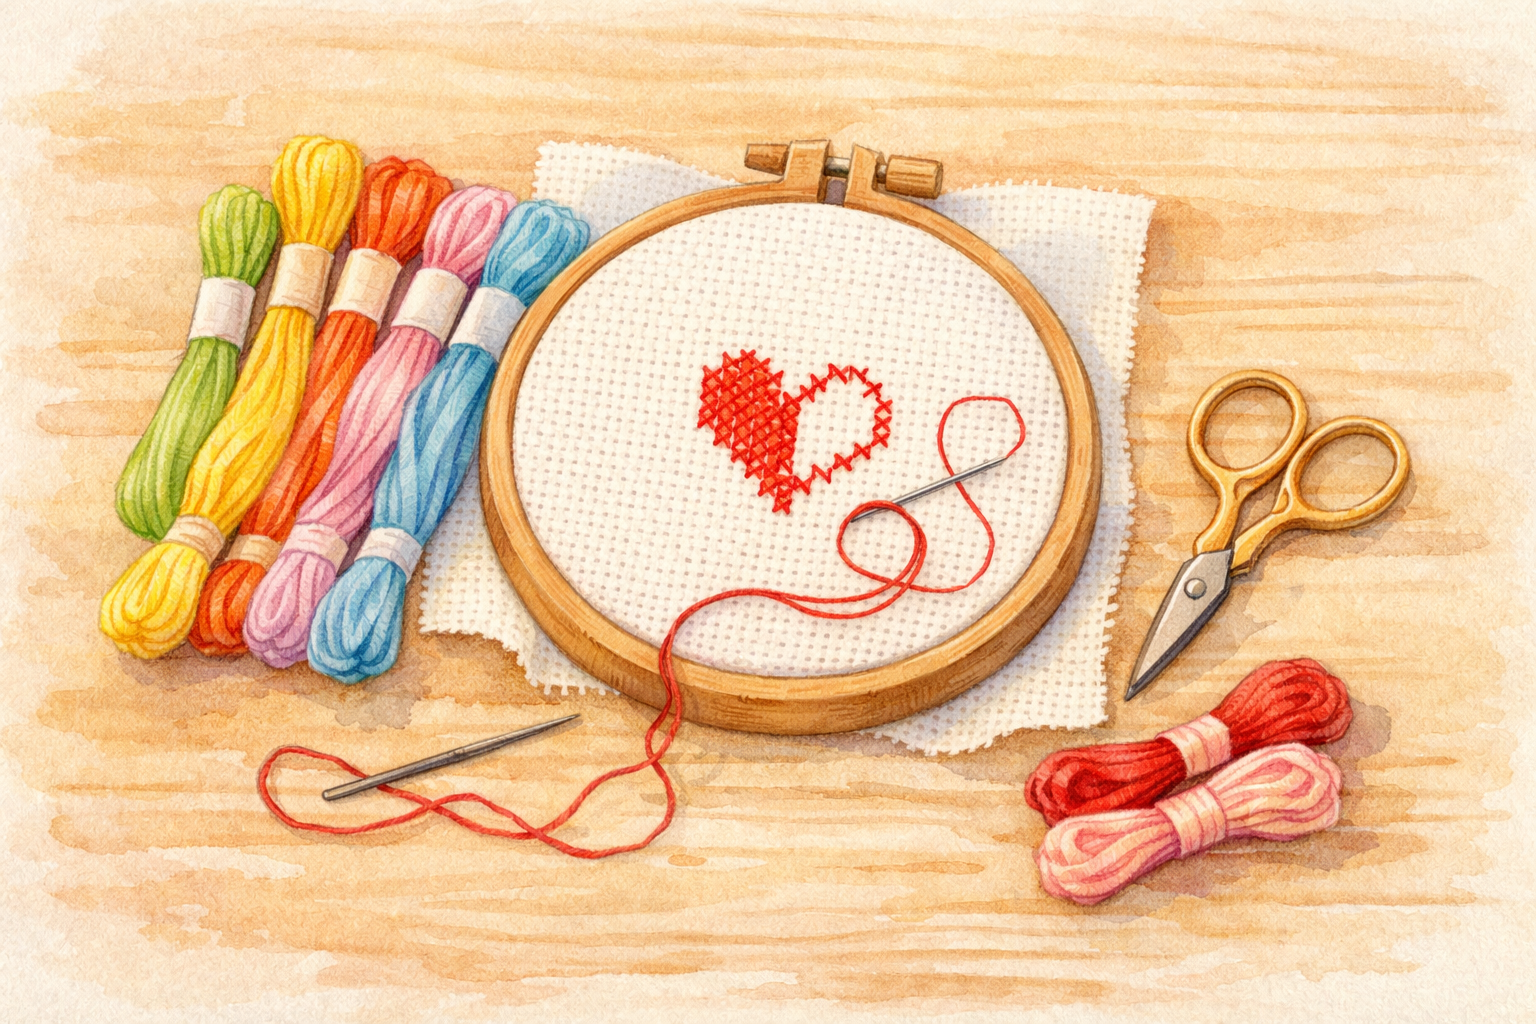
Cross-stitch is one of the most relaxing and rewarding needlework crafts you can learn. Whether you’ve admired beautiful stitched pieces online or received a kit as a gift, this guide will walk you through everything you need to know to get started.
What You’ll Need
Before you make your first stitch, let’s gather your supplies. The good news is that cross-stitch requires very few materials to get started.
Fabric
The most common fabric for cross-stitch is Aida cloth. It has a grid-like weave with clearly visible holes, making it perfect for beginners. Aida comes in different “counts” which refer to the number of squares per inch:
- 14-count Aida is the most popular for beginners. The squares are large enough to see easily but small enough to create detailed designs.
- 16-count Aida produces slightly smaller stitches for more detail.
- 18-count Aida is used for finer, more detailed work.
For your first project, stick with 14-count white or cream Aida cloth. It’s forgiving and easy to work with.
Thread
Cross-stitch uses embroidery floss, with DMC being the most widely available brand. Each skein of DMC floss contains 6 strands twisted together. For most projects on 14-count Aida, you’ll separate and use 2 strands at a time.
DMC threads are identified by number (like DMC 310 for black or DMC B5200 for bright white), making it easy to match colors to your pattern.
Needles
Use tapestry needles (size 24 or 26 for 14-count Aida). These have a blunt tip that slides through the fabric holes without splitting the weave, and a large eye for easy threading.
Other Supplies
- Embroidery hoop (6-inch is a good starting size) to keep your fabric taut
- Small scissors for cutting thread
- A pattern to follow (start simple!)
Separating Floss Strands
One of the first skills you’ll need is separating individual strands from a skein of embroidery floss. Here’s the technique:
Tip
- Cut a working length of about 18 inches (roughly elbow to fingertip). Longer threads tangle more easily and wear thin from being pulled through fabric repeatedly.
- Hold the cut length and find one end.
- Pull one strand straight up while holding the remaining strands gently. The floss will bunch up and look tangled — this is normal.
- Let it untwist naturally. Once the single strand is free, the remaining strands will settle back into place.
- Repeat to get the number of strands you need (usually 2 for 14-count Aida).
Pro tip: Always separate strands one at a time, even if you need two. Pulling two at once causes tangles. Separate two individual strands, then thread them together through your needle. This technique is called “stripping” your floss, and it makes your stitches lay flatter and look more even.
Preparing to Stitch
Before you sit down with your fabric and thread, a few preparation steps will make your stitching experience much better.
Wash Your Hands
This might sound obvious, but it’s worth emphasizing: always wash your hands before stitching. Natural oils from your skin transfer to fabric and thread over time, which can cause discoloration or attract dirt. Some stitchers keep a small towel nearby and wash their hands every time they take a snack break. Your fabric will stay cleaner and brighter throughout your project.
Prepare Your Workspace
Tip
Find a comfortable spot with good lighting. Natural daylight is ideal, but a bright desk lamp works well too. Keep your supplies organized within reach — nothing disrupts your flow like hunting for scissors or the right thread color.
Making Your First Stitch
Each cross-stitch is made up of two diagonal stitches that form an X shape. Here’s how:
The Bottom Half
- Bring your needle up through the fabric from the back at the bottom-left hole of a square.
- Push the needle down through the top-right hole of the same square.
- You’ve created one diagonal line (/).
The Top Half
- Bring your needle up through the bottom-right hole.
- Push the needle down through the top-left hole.
- You’ve completed the X!
Cross Stitch — Step-by-Step
Bring needle up through bottom-left hole
Important Tips for Clean Stitches
- Consistency is key: Always make your bottom stitches go in the same direction (/// ) and your top stitches in the opposite direction (\). This creates a uniform, professional look.
- Don’t pull too tight: Your stitches should lay flat on the fabric without distorting the holes.
- Work in rows: When stitching a block of the same color, stitch all the bottom halves in a row first (////), then come back to complete the top halves (\).
Starting and Ending Threads
Starting Without a Knot
Warning
Knots on the back of your work can create lumps and may come undone. Instead, use the loop start method:
- Cut a length of floss longer than usual.
- Separate one strand and fold it in half.
- Thread the two cut ends through your needle, leaving the loop at the other end.
- Bring the needle up through the fabric, leaving the loop underneath.
- Make your first half-stitch, then pass the needle through the loop on the back.
- Pull gently to secure.
Ending a Thread
When you’re running low on thread or changing colors, weave your needle under 3-4 existing stitches on the back of the fabric, then trim. This secures the thread without knots.
Reading Your First Pattern
Cross-stitch patterns are displayed as a grid where each square represents one stitch. Patterns use either:
- Colored squares that show what the finished stitch will look like
- Symbols where each symbol represents a different thread color (better for complex patterns with similar colors)
A pattern will include a key or legend that tells you which DMC thread color corresponds to each symbol or color block.
Tips for Success
- Start small: Choose a pattern that’s under 50x50 stitches with fewer than 5 colors.
- Good lighting: Stitch in a well-lit area to reduce eye strain and see your fabric holes clearly.
- Take breaks: Cross-stitch is relaxing, but take breaks to stretch your hands and rest your eyes.
- Count twice, stitch once: Double-check your position on the pattern before committing to a section.
- Don’t stress about the back: While a neat back is nice, beginners shouldn’t worry about perfection. It won’t be visible in the finished piece.
First-Timer Frustrations (and How to Fix Them)
Every beginner hits some bumps. Here are the most common issues and their solutions:
“My thread keeps tangling!”
This is the number one beginner complaint. Solutions:
- Use shorter thread lengths (no more than 18 inches)
- Let your needle dangle freely every few stitches to let the thread untwist
- Make sure you’re stripping your floss (separating and recombining strands)
“I lost my place on the pattern”
It happens to everyone. Prevention strategies:
- Use a ruler or sticky note to mark your current row on the pattern
- Highlight or cross off completed sections on a photocopy
- Count from a known reference point (like a completed section) rather than from the edge
“My stitches look uneven”
Consistency takes practice. Common causes:
- Pulling too tight (or not tight enough) — aim for stitches that lay flat without puckering
- Not keeping the same stitch direction throughout
- Threading too many or too few strands
“I made a mistake several rows back”
Don’t panic. You have options:
- If it’s a small color error: Consider leaving it. In the finished piece, minor errors are rarely noticeable.
- If you need to fix it: Use your needle to carefully unpick stitches back to the mistake. This is called “frogging” (because you “rip it, rip it”). Work slowly to avoid damaging your fabric.
- Prevention: Count frequently and verify your position before committing to a large section of stitches.
What’s Next?
Once you’ve completed your first project, you’ll have the confidence to tackle larger, more colorful designs. Explore different fabric counts, try stitching on colored fabric, or experiment with specialty stitches like backstitch for outlines and French knots for texture.
Not sure what to stitch? Read our guide on choosing your first cross-stitch project for recommendations on beginner-friendly patterns. You’ll also want to learn how to read a cross-stitch pattern chart before diving in.
Welcome to the wonderful world of cross-stitch! The community is warm and supportive, and there’s always something new to learn and create.
More Articles
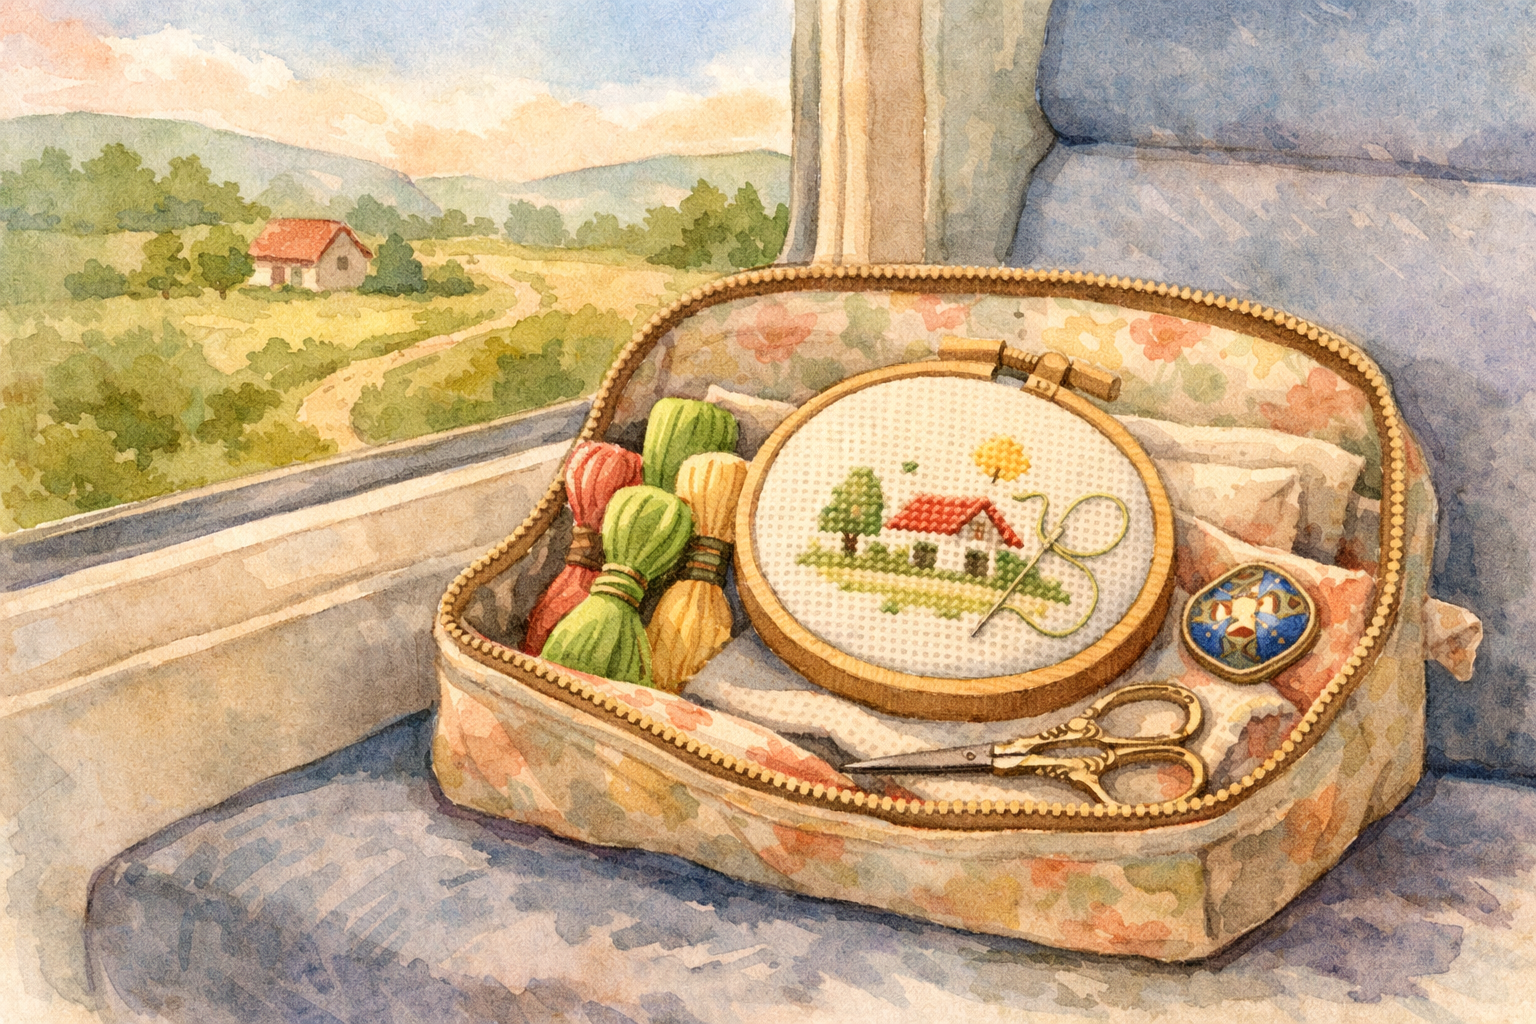
Traveling with Your Cross-Stitch Projects
Cross-stitch is the perfect portable craft. Learn how to pack your projects for travel, navigate airport security, and keep stitching wherever you go.
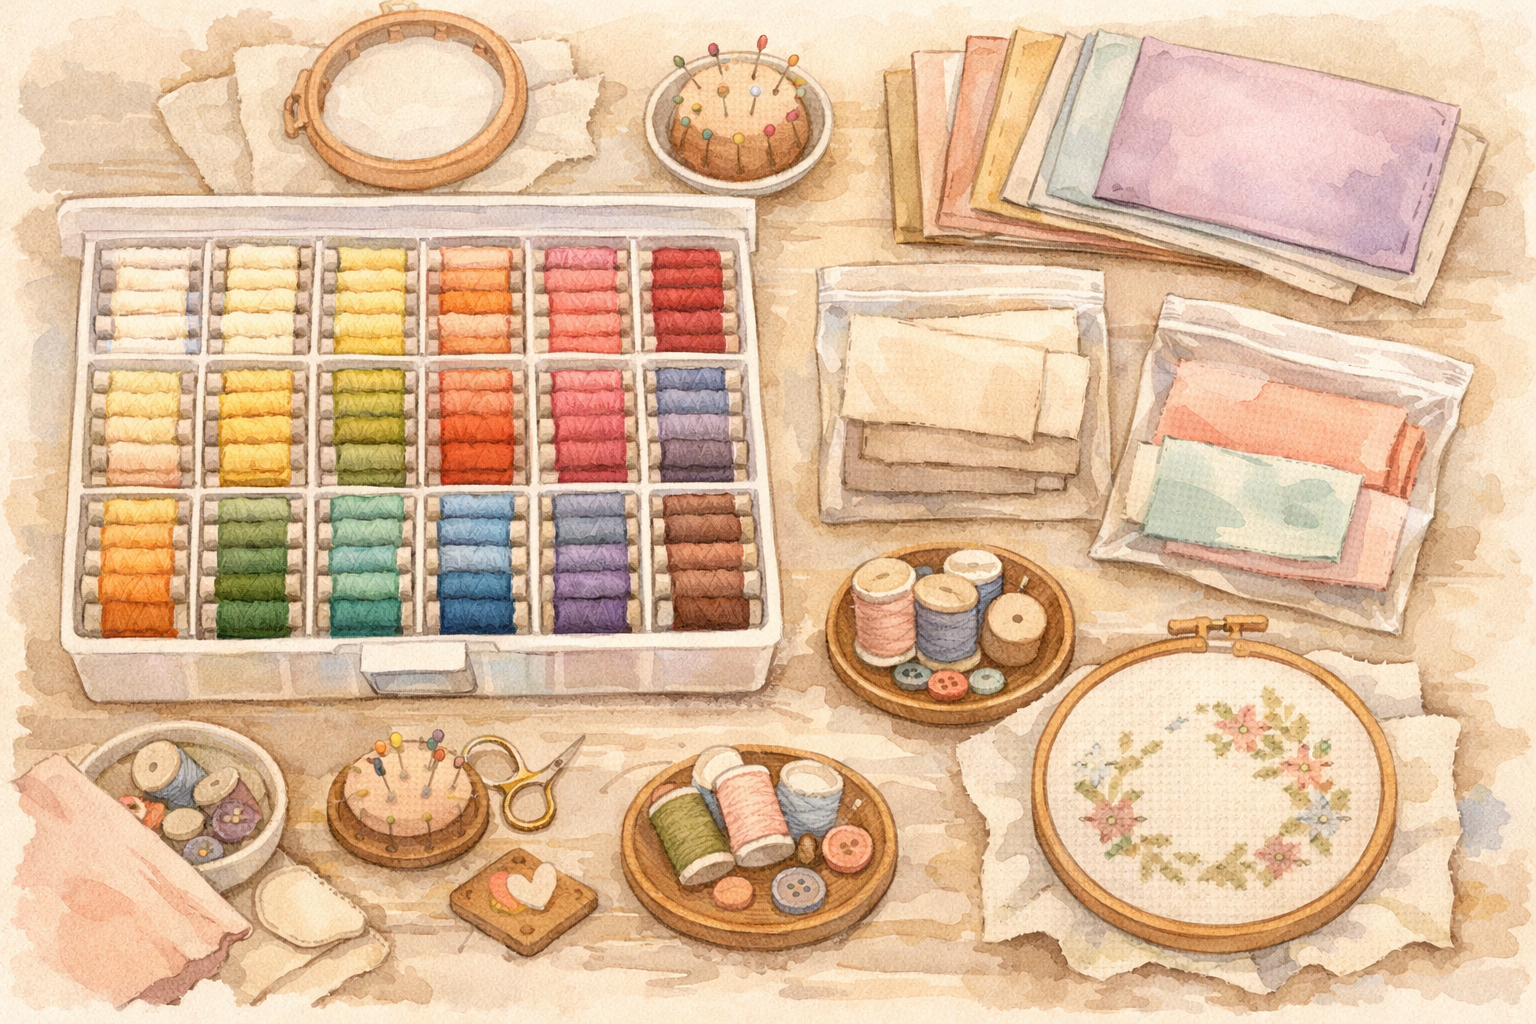
Organizing Your Cross-Stitch Stash
Fabric, floss, patterns, tools — your cross-stitch collection grows fast. Practical storage and organization strategies to keep your stash tidy and accessible.
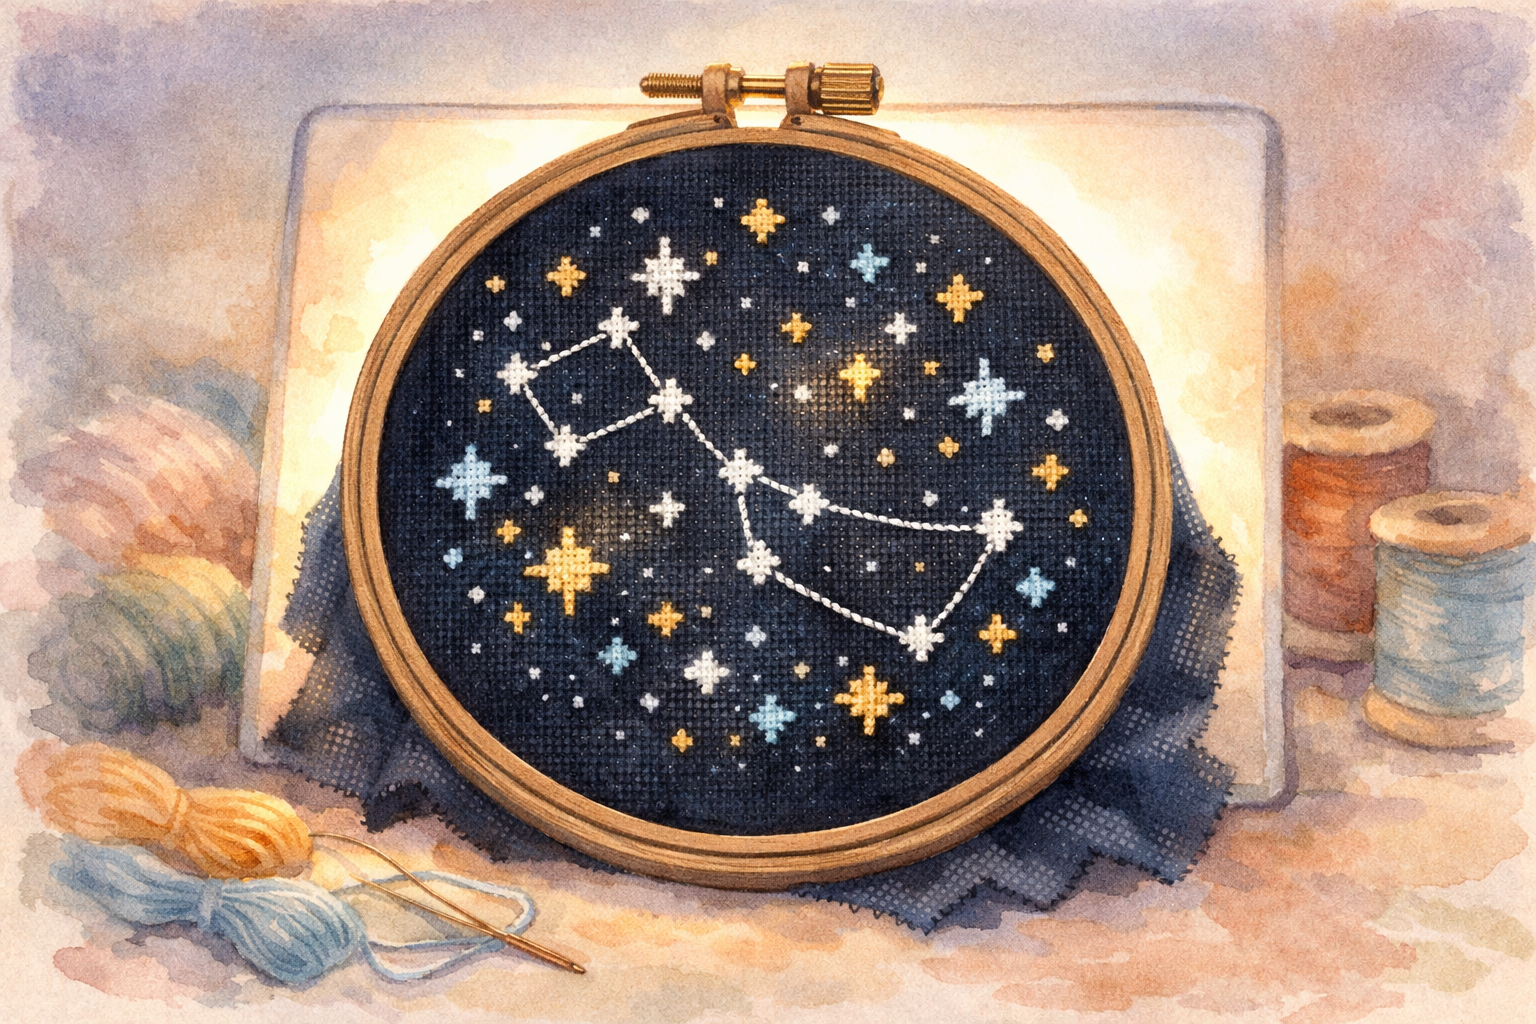
Stitching on Dark and Colored Fabrics
Dark and colored fabrics create stunning effects but come with unique challenges. Master the techniques for working with black, navy, and colored Aida and evenweave.