How to Read a Cross-Stitch Pattern Chart
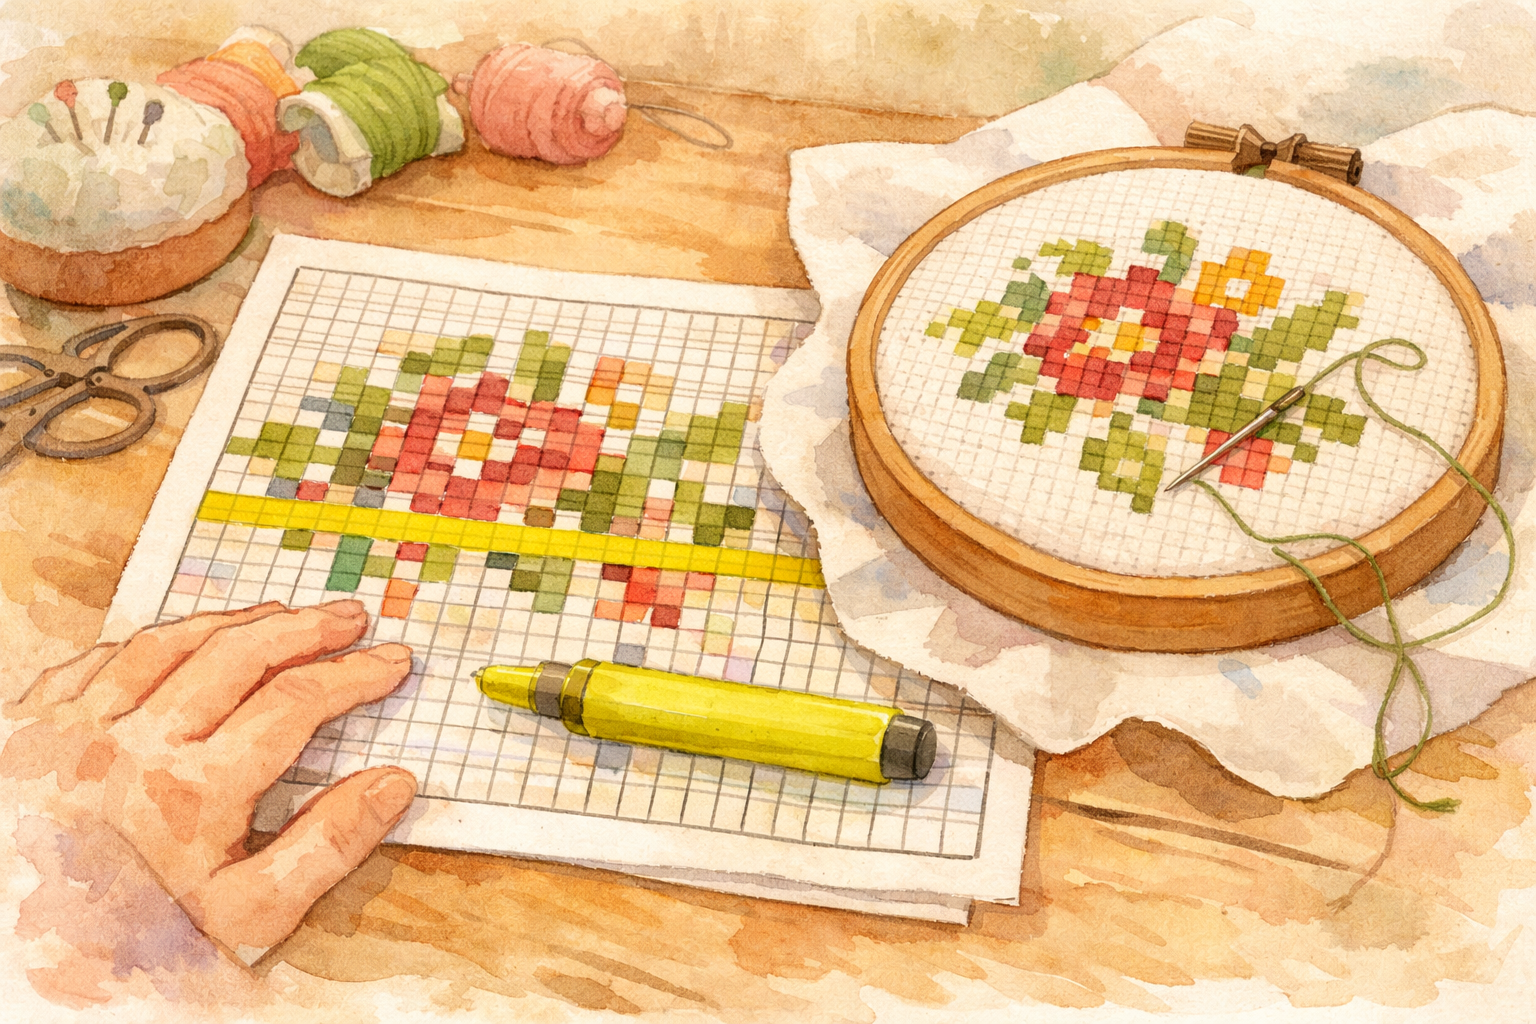
How to Read a Cross-Stitch Pattern Chart
If you’ve just picked up your first cross-stitch pattern and feel overwhelmed by the grid of tiny symbols, don’t worry. Reading a pattern chart is a skill that becomes second nature with practice. This guide breaks down everything you need to know.
Understanding the Grid
A cross-stitch pattern chart is a grid where each square represents one cross-stitch on your fabric. The chart is essentially a map of your finished piece, shown from the front.
Key things to notice:
- Grid lines divide the chart into individual squares
- Bold lines appear every 10 squares (creating 10x10 blocks) to help you count
- Arrows or markers on the edges indicate the center of the design
- The overall dimensions (like “80w x 60h”) tell you the width and height in stitches
Symbols and Colors
Symbol Charts
Most patterns use symbols to represent different thread colors. Each symbol occupies one square and represents one complete cross-stitch. Common symbols include:
- Simple shapes: squares, circles, triangles, diamonds
- Typographic characters: X, O, V, /, \, +, =, @, #
- Filled vs. empty versions of the same shape for similar colors
The pattern’s legend or key matches each symbol to a specific thread color (usually DMC numbers). It typically looks like:
| Symbol | DMC | Color Name |
|---|---|---|
| X | 310 | Black |
| O | 321 | Red |
| / | 699 | Green |
| . | 762 | Light Pearl Gray |
Color Block Charts
Some patterns (especially simpler ones or digital previews) show colored squares instead of symbols. While visually appealing, these can be harder to read when similar colors are adjacent. Many stitchers prefer symbol charts for accuracy.
Combination Charts
The best of both worlds: colored squares with symbols overlaid. This gives you color reference at a glance while maintaining the precision of symbols.
Interactive Pattern Chart
0/40 stitchedClick a symbol to mark it as stitched
Symbol Legend
Types of Stitches on a Chart
Full Cross-Stitches
The most common stitch. Shown as a symbol filling the entire square. Each represents one X-shaped stitch.
Backstitch
Shown as bold lines along the edges of squares (not filling the square itself). Backstitch creates outlines and details. On the chart, these appear as thick lines running along grid edges in a specific color.
The legend will specify which DMC color to use for backstitch, often a darker shade like 310 (black) or 838 (dark brown).
Half-Stitches
Shown as a symbol in only half the square (divided diagonally). These create a lighter, more textured effect and are common in backgrounds. You’ll only stitch one diagonal of the X.
French Knots
Shown as a dot or small circle, usually at the intersection of grid lines rather than filling a square. These create dimensional dots, perfect for eyes, flower centers, or decorative details.
Three-Quarter Stitches
A combination of a half-stitch and a quarter-stitch, taking up three-quarters of a square. These are used for smoother diagonal edges and curves, giving designs a less blocky appearance.
Finding Your Starting Position
Center Start Method (Recommended)
Info
Starting from the center ensures your design is properly placed on your fabric:
- Find the center of your fabric: Fold it in half both ways and mark the center point with a pin or small stitch.
- Find the center of your chart: Follow the center arrows on the edges of the chart to where they intersect.
- Begin stitching from the center outward.
This method guarantees you won’t run out of fabric on any side.
Corner Start Method
Some stitchers prefer starting from a corner (usually top-left). This works well if you’ve calculated your fabric size precisely, but leaves less room for error.
Parking Method Starting
Advanced stitchers sometimes use the “parking” method, working in columns or blocks. The start point depends on the specific parking technique being used.
Counting Tips and Tricks
Miscounting is the most common frustration in cross-stitch. Here are proven strategies:
Tip
Use the Grid Lines
Those bold lines every 10 squares are your best friends. Count in groups of 10 to move across the chart, then count the remaining squares. This is much more reliable than counting one square at a time.
Grid Your Fabric
Use a washable fabric pen or thread to create a 10x10 grid on your Aida cloth that matches the chart’s grid lines. This makes it nearly impossible to miscount by more than a few squares.
Mark Your Progress
Use highlighters (on a photocopy, never the original!) or a magnetic board with ruler to track which row you’re working on. Covering completed rows reduces confusion.
Count Both Ways
When moving to a new section, count both horizontally and vertically from a known reference point. If both counts agree, you’re in the right spot.
Working with Multi-Page Charts
Larger designs span multiple pages. Tips for managing these:
- Understand the page layout: Most patterns include an overview page showing how the individual pages fit together.
- Look for overlap: Adjacent pages typically share a few rows or columns of symbols at the edges so you can match them up.
- Work page by page: Complete one page area before moving to the next, using the overlap symbols to verify alignment.
- Number your pages: Keep them in order and mark which ones you’ve completed.
Digital vs. Paper Charts
Paper Charts
- Easy to mark up and highlight
- No battery or screen glare issues
- Can spread multiple pages across a table
Digital Charts (Tablet/Phone Apps)
- Can zoom in on tiny symbols
- Easy to mark progress (tap to highlight)
- Pattern always with you
- Some apps can cross off completed stitches
Many stitchers use both: digital for zooming in on tricky sections and paper for overall reference.
Specialty Chart Symbols
As you advance beyond basic patterns, you’ll encounter additional chart symbols:
Bead Placements
Some patterns incorporate small beads for texture and sparkle. On charts, bead placements are typically shown as a filled circle or a specific symbol with a note in the legend like “Mill Hill 00123.” Beads are usually attached with a half-stitch, using matching thread color.
Metallic Thread Sections
Areas calling for metallic or specialty threads are often marked differently — sometimes with a unique symbol, sometimes with a colored outline around the affected stitches. Always check the legend carefully, as these sections may require different technique (shorter thread lengths, different needle size).
Blended Stitches
When a pattern calls for thread blending (two different colors in the needle at once), the chart square may show a split symbol — half of one symbol and half of another, or a specific blending notation in the legend (like “1 strand 321 + 1 strand 498”).
Pattern Software and Apps
Technology has transformed how stitchers interact with patterns:
Popular Chart-Reading Apps
- Pattern Keeper (Android/iOS): Automatically detects symbols in PDF patterns, lets you tap to mark completed stitches, highlights the active color, and tracks your progress. It’s become the most popular app among cross-stitchers.
- Markup R-XS (iOS): Another PDF markup tool for cross-stitch patterns with zoom, color highlighting, and progress tracking.
- WinStitch/MacStitch: Desktop software for creating and editing patterns, useful if you want to modify an existing chart.
Benefits of Digital Chart Reading
- Zoom infinitely on tiny symbols without a magnifying glass
- Color highlight the symbol you’re currently stitching so it stands out
- Progress tracking with tap-to-complete features
- Never lose your place — the app remembers exactly where you stopped
When Paper Still Wins
Despite the digital advantages, many stitchers prefer paper for:
- No screen glare or battery concerns
- Easier to spread multiple pages side by side
- Physical markup with highlighters feels satisfying
- Some stitchers find screens add eye strain to an already detail-oriented hobby
Warning
Handling Pattern Errata
No pattern is perfect. Designers occasionally discover errors after publication. Here’s how to handle them:
Before You Start
Check the designer’s website or social media for any published errata or corrections. Many designers maintain an errata page. A quick search for ”[pattern name] errata” or ”[pattern name] corrections” can save you from stitching a known error.
Common Types of Errata
- Wrong symbol in the legend: A thread color is listed with the wrong DMC number
- Missing symbols: A color appears in the chart but isn’t listed in the legend
- Chart alignment errors: Sections don’t match up correctly across pages
- Stitch count discrepancies: The stated dimensions don’t match the actual chart
When You Spot an Error
- Double-check: Make sure it’s truly an error and not a misread on your part
- Contact the designer: Most designers are responsive and grateful when errors are reported
- Check community forums: Other stitchers may have already identified and solved the issue
- Use your judgment: For minor color discrepancies, choose the color that looks best to you
Common Beginner Mistakes
- Confusing similar symbols: When in doubt, check the legend. Some symbols differ by only a small detail.
- Losing your place: Always mark where you stopped. A sticky note on the chart works perfectly.
- Not checking thread color: Before starting a new section, double-check you’ve threaded the correct color. Frogging (undoing stitches) is no fun.
- Ignoring the stitch count: Before cutting fabric, verify the pattern dimensions and add enough margin (at least 3 inches on each side).
With practice, reading charts becomes intuitive. Soon you’ll glance at a symbol and reach for the right thread color without even checking the legend.
If you’re brand new to cross-stitch, start with our complete beginner’s guide to learn about supplies and basic technique. Ready to pick a pattern? Our guide to choosing your first project will help you find the perfect design. And when you’re selecting thread colors, understanding color theory will take your projects to the next level.
Happy stitching!
More Articles
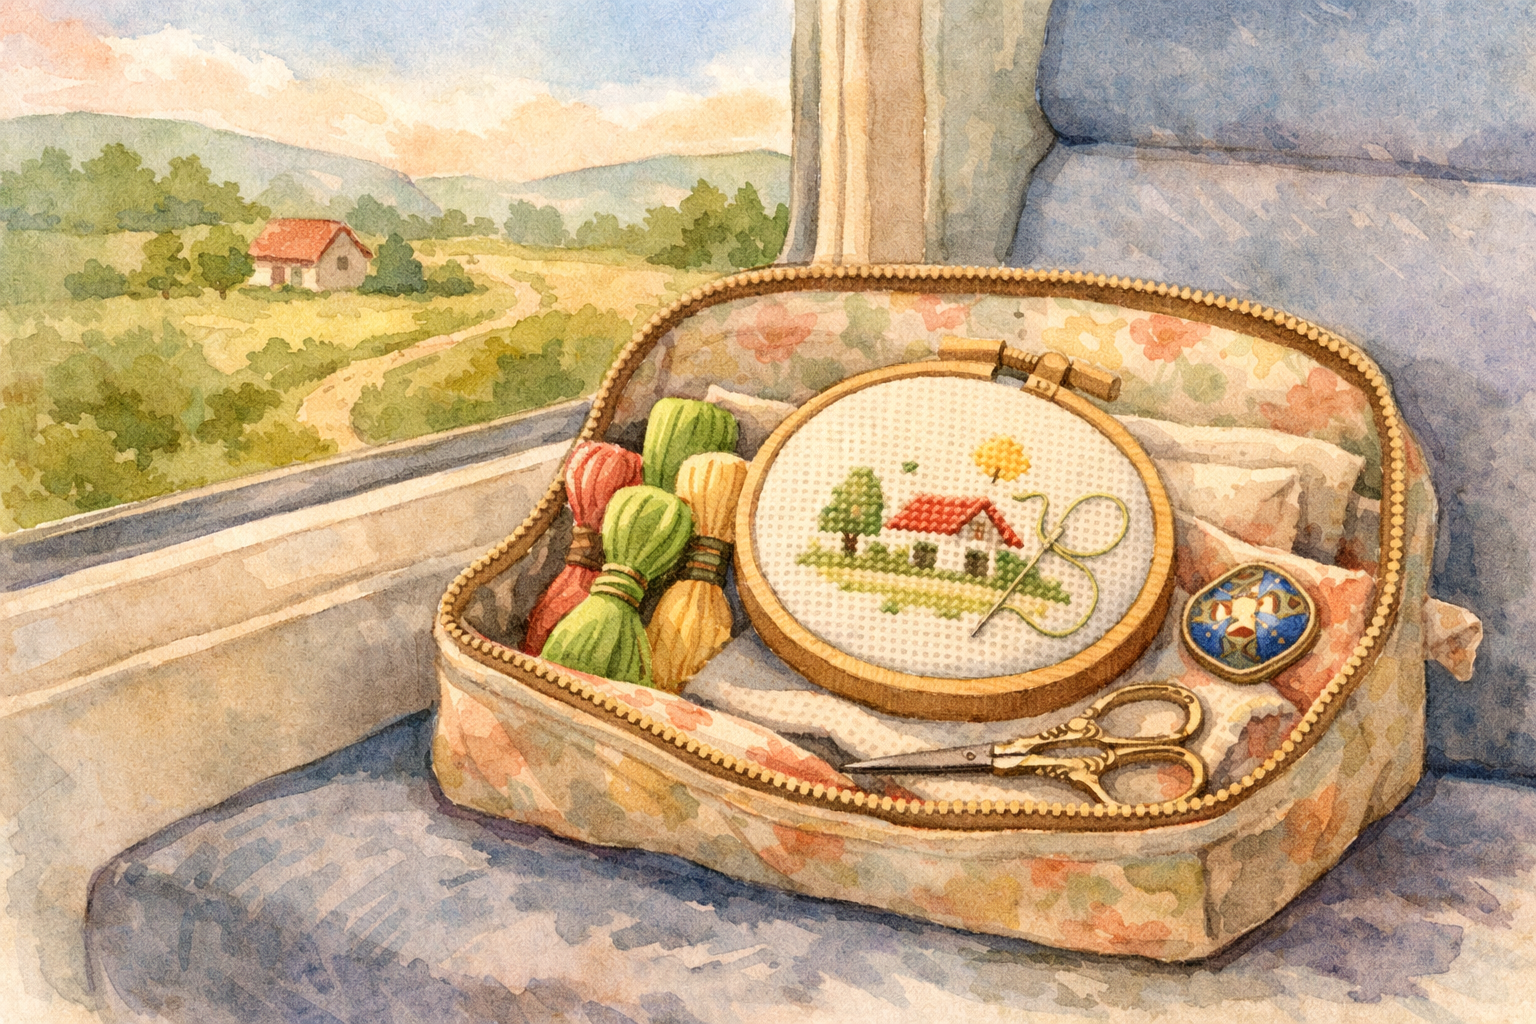
Traveling with Your Cross-Stitch Projects
Cross-stitch is the perfect portable craft. Learn how to pack your projects for travel, navigate airport security, and keep stitching wherever you go.
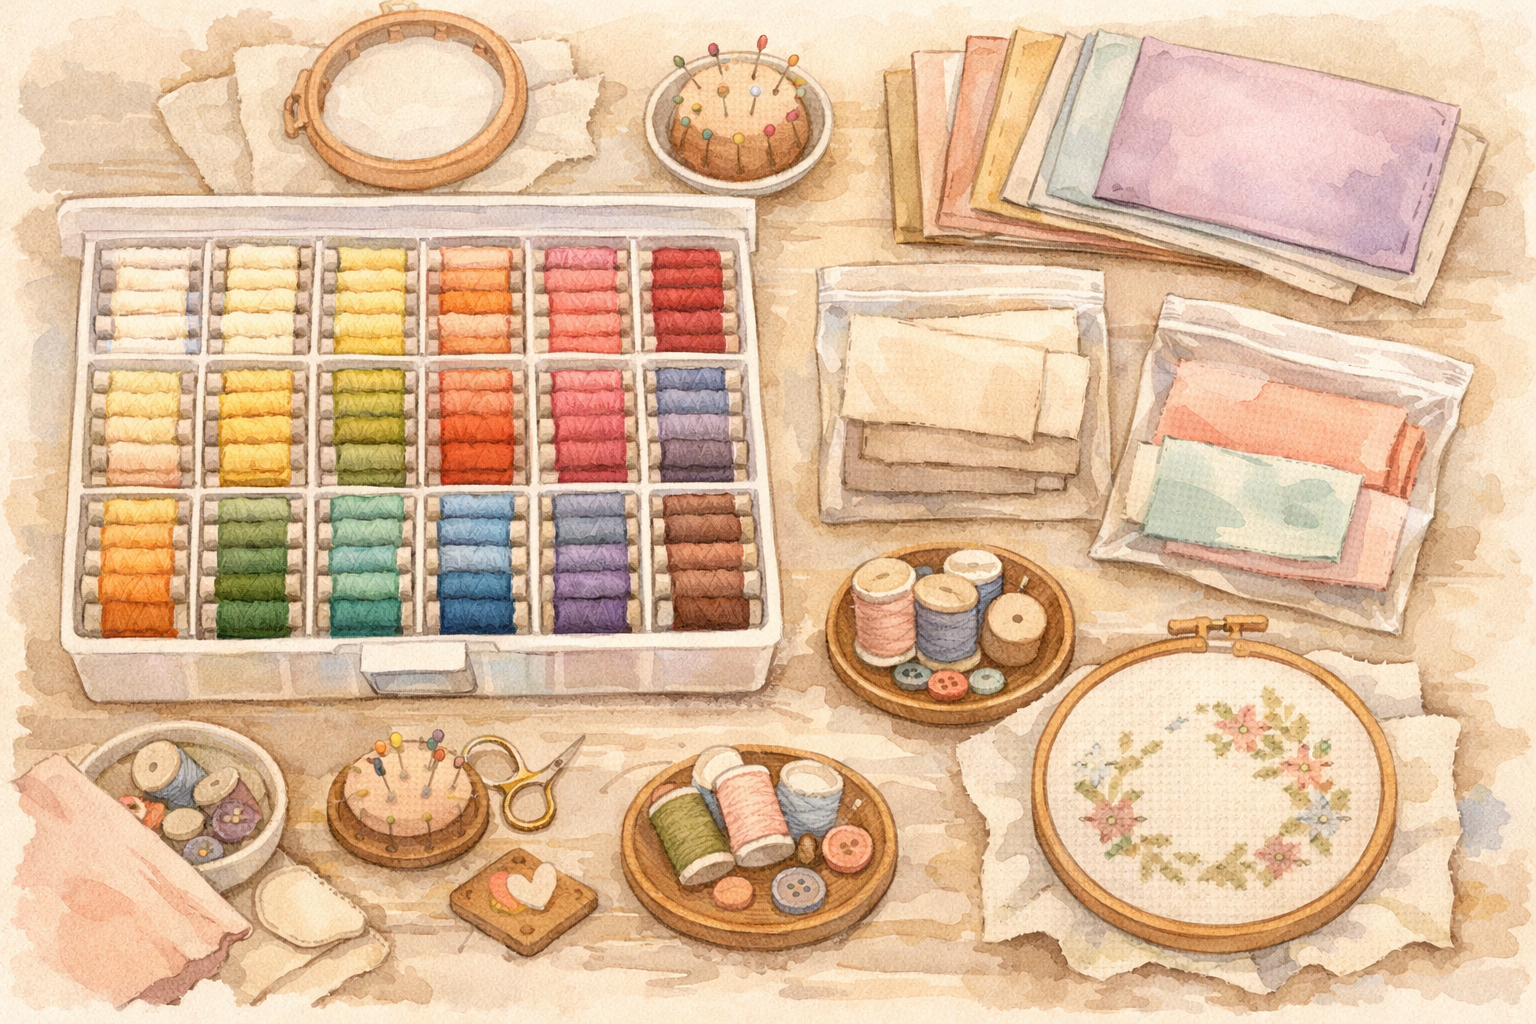
Organizing Your Cross-Stitch Stash
Fabric, floss, patterns, tools — your cross-stitch collection grows fast. Practical storage and organization strategies to keep your stash tidy and accessible.
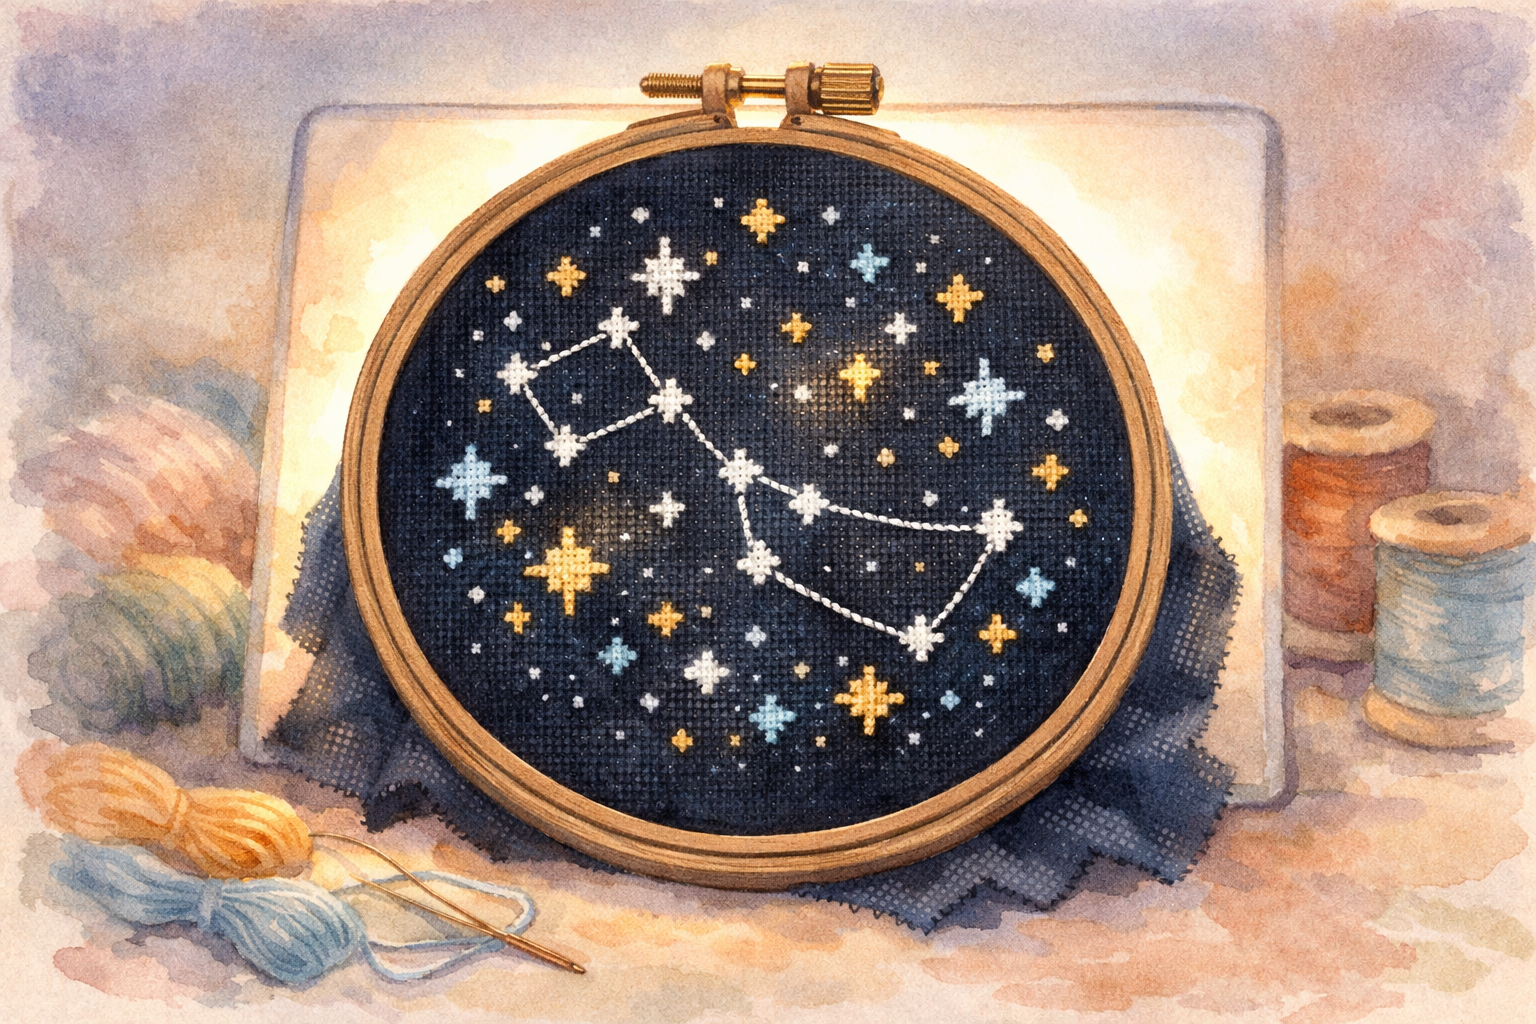
Stitching on Dark and Colored Fabrics
Dark and colored fabrics create stunning effects but come with unique challenges. Master the techniques for working with black, navy, and colored Aida and evenweave.