Traveling with Your Cross-Stitch Projects
Traveling with Your Cross-Stitch Projects
Cross-stitch might be the most travel-friendly craft in existence. It’s quiet, requires no electricity, takes up minimal space, and gives you something productive to do during long flights, train rides, or hotel evenings. Once you’ve sorted out a few logistics — especially around airport security — you can stitch anywhere in the world.
Why Cross-Stitch Is Perfect for Travel
- Tiny footprint — a small project, a few skeins, a needle, and scissors fit in a bag smaller than a paperback
- No power needed — unlike knitting machines, sewing machines, or tablets, cross-stitch is fully analog
- Quiet and unobtrusive — you won’t disturb seatmates on a plane or fellow passengers on a train
- Self-paced — you can pick it up and put it down at any moment without losing your place
- Calming — travel can be stressful, and the repetitive motion of stitching is genuinely relaxing
Flying with Cross-Stitch: TSA and Security
This is the question every stitcher asks before their first flight with a project: “Can I bring my needles and scissors on a plane?”
Tip
United States (TSA Rules)
- Tapestry needles: Allowed in carry-on luggage. TSA permits sewing needles in carry-on bags. Tapestry needles (blunt-tipped) are the least likely to raise any concerns.
- Scissors: Allowed if the blades are under 4 inches from the pivot point. Small embroidery scissors usually qualify, but measure yours to be sure. Blunt-tipped scissors are less likely to get a second look.
- Thread and fabric: No restrictions whatsoever.
Pro tip: Bring a small pair of nail clippers or a thread cutter pendant as a backup. If a TSA agent decides your scissors don’t pass (it can happen even when you’re within the rules), you’ll still be able to cut thread. Some stitchers pre-cut their thread lengths before going through security to eliminate the issue entirely.
International Travel
Rules vary by country and airline. Some key differences:
- United Kingdom: Scissors with blades under 6 cm are generally permitted in carry-on
- European Union: Scissors with blades under 6 cm are typically allowed, but individual airports may vary
- Australia: Scissors with blades under 6 cm permitted in carry-on
- Some Asian and Middle Eastern countries: Stricter rules may prohibit any sharp objects in cabin baggage
The safest approach for international travel: Pack your scissors and any sharp tools in checked luggage. Bring a thread cutter pendant (the round ones with a concealed blade) or nail clippers for the flight. These almost never cause issues at security.
Warning
What to Do If Security Takes Your Scissors
It happens. Don’t argue — it’s not worth the hassle. Nail clippers, a thread cutter pendant, or even your teeth (in a pinch) can cut embroidery floss. You can buy replacement scissors at your destination. This is why many traveling stitchers invest in an inexpensive pair of small scissors specifically for travel rather than risking their good pair.
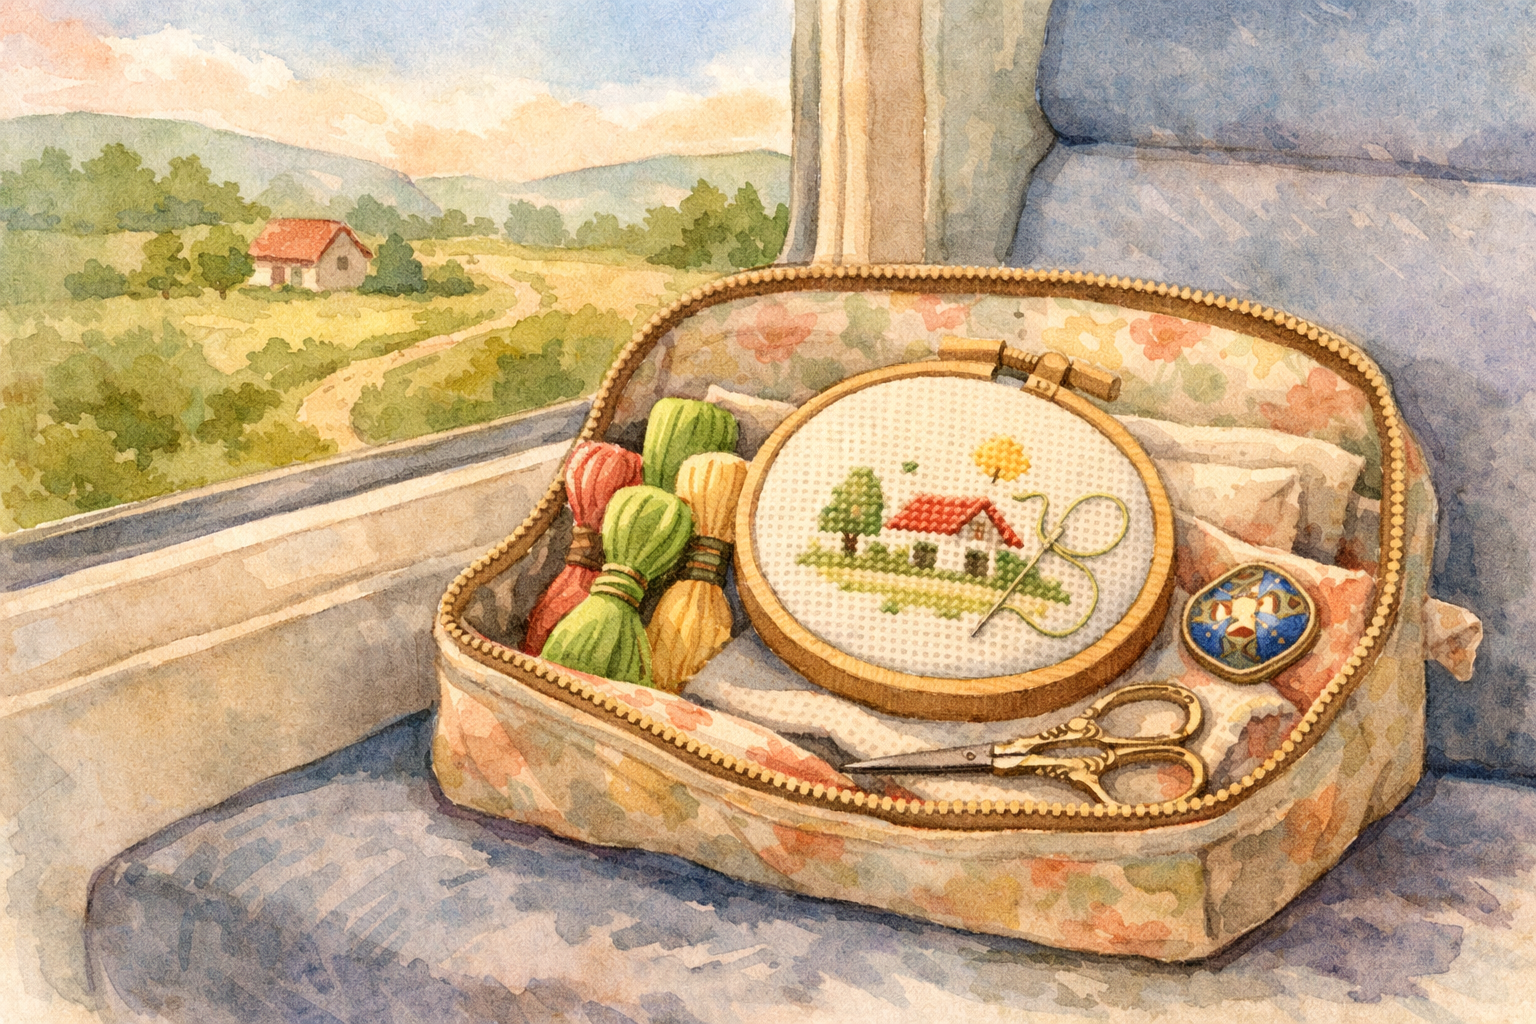
Packing Your Project
The Travel Project Bag
Dedicate a small bag or pouch to your travel stitching. It should contain:
- Your project (fabric on a hoop or rolled carefully)
- Working threads on an organizer card or in small bags
- One or two needles (plus a needle minder to keep track of them)
- Small scissors or thread cutter
- A copy of the pattern (printed or on your phone/tablet)
- A small ziplock bag for thread scraps (don’t leave bits of floss in hotel rooms or on planes)
Protecting Your Fabric
When packing your stitching for travel:
- Remove the hoop if possible to prevent the fabric from stretching during transit. Roll the fabric loosely and secure it with a clip. You can re-hoop when you’re ready to stitch.
- If leaving the hoop on, wrap the project in a soft cloth or place it in a padded bag to prevent the hoop from pressing rings into the fabric.
- Cover your stitching with a piece of tissue paper or soft cloth to protect finished stitches from friction and snagging.
Use this interactive checklist to make sure you have everything packed before your trip:
Travel Packing Checklist
Essentials
Nice to Have
Project Prep
Preparing Before You Leave
A little preparation at home saves frustration on the road.
Thread Preparation
- Wind bobbins or cut lengths for all the colors you’ll need. Don’t bring full skeins — they take up more space and are harder to manage on the go.
- Organize threads on a card labeled with pattern symbols and DMC numbers. This is faster than matching colors from bagged bobbins.
- Bring a few extra lengths of colors you’ll use the most. Running out of a key color far from a craft store is frustrating.
Pattern Preparation
- Digital patterns: Download the PDF to your phone or tablet so you don’t need internet access. Make sure it’s saved locally, not just in the cloud.
- Printed patterns: Make a photocopy or printout of just the section you’re working on rather than bringing the entire chart. Laminating it or slipping it in a sheet protector keeps it clean.
- Highlight your progress: Mark off completed sections so you can pick up exactly where you left off without re-counting.
Pre-Thread Your Needle
If you’re heading to the airport and plan to stitch on the plane, thread your needle before you leave and park it in your fabric or needle minder. That way you’re ready to go as soon as you’re settled in your seat.
Travel-Friendly Supplies
Some supplies are better suited to travel than others.
Must-Have Travel Supplies
- Small embroidery scissors (under 4-inch blades) or a thread cutter pendant — the safest, most portable cutting option
- Magnetic needle minder — essential for keeping your needle safe when you set your project down on a plane tray or in a waiting area
- Small travel hoop (4–6 inch) — easy to handle in tight spaces like airplane seats
- Zippered project bag — keeps everything contained and prevents loose items from scattering
Nice-to-Have Extras
- Needle threader — helpful in dim airplane lighting
- Small LED clip light — most planes and trains have decent reading lights, but a small clip-on light can improve visibility in dim settings
- Silicone thimble — if you use one at home, don’t forget it for travel
Choosing a Travel Project
Not every project in your stash is ideal for travel. The best travel projects share a few traits:
Keep It Small
Choose something that fits comfortably in a 4–6 inch hoop. Large pieces on scroll frames aren’t practical for airplane seats or cafe tables.
Limit the Colors
A project with 5–8 colors is much easier to manage on the go than one with 40. Fewer threads means less to pack, less to organize, and fewer color changes to manage while a toddler kicks the back of your seat.
Choose Simple-ish Patterns
Travel stitching often happens in environments with distractions — announcements, turbulence, conversations, unfamiliar surroundings. A pattern with large blocks of color or repetitive geometric designs is easier to follow when your attention is divided than a complex, confetti-heavy piece.
That said, “simple” doesn’t have to mean “boring.” A small, colorful bookmark pattern or a mini sampler can be both portable and engaging.
Info
Consider a Dedicated Travel Project
Some stitchers keep a small project permanently packed in their travel bag. It’s always ready to go, no scrambling to prepare before a trip. Something you enjoy but isn’t time-sensitive — a personal design, a small ornament, a sampler you add to over many trips — works perfectly for this.
Road Trip vs. Air Travel
Road Trips
Road trips are the easiest scenario for travel stitching (as a passenger, obviously). You can bring a larger project, full-size scissors, and even a frame or stand. Keep your project bag in the front seat within easy reach, and stitch during long highway stretches.
Watch for: Motion sickness. Some people can’t do close-up handwork in a moving car. If this is you, save the stitching for rest stops and hotel evenings.
Air Travel
Planes are the classic travel stitching environment. Window seats offer a ledge for your pattern, and the tray table gives you a small workspace. Aisle seats give you more elbow room for pulling thread.
Watch for: The overhead light angle can create shadows on your fabric. Adjust your position or use a small clip light. Also, be mindful of your seatmate’s space — stitching is quiet but does involve arm movement.
Keeping Your Project Clean While Traveling
Travel exposes your project to more handling, different surfaces, and potentially food and drink. A few precautions:
- Wash your hands before stitching, just as you would at home
- Use a grime guard on your hoop to protect exposed fabric from handling oils
- Keep a small bag for trash — thread tails, snipped ends, and paper should go in a bag, not on the floor or tray table
- Store your project in its bag when not actively stitching — don’t leave it sitting loose in a seatback pocket or on a hotel desk where it can collect dust or spills
- Avoid stitching while eating — crumbs and sticky fingers are fabric enemies
Further Reading
- Get your stash road-ready with our guide to organizing your cross-stitch stash
- Learn smart thread prep in our thread management and organization tips
- New to cross-stitch? Start with our complete beginner’s guide
More Articles
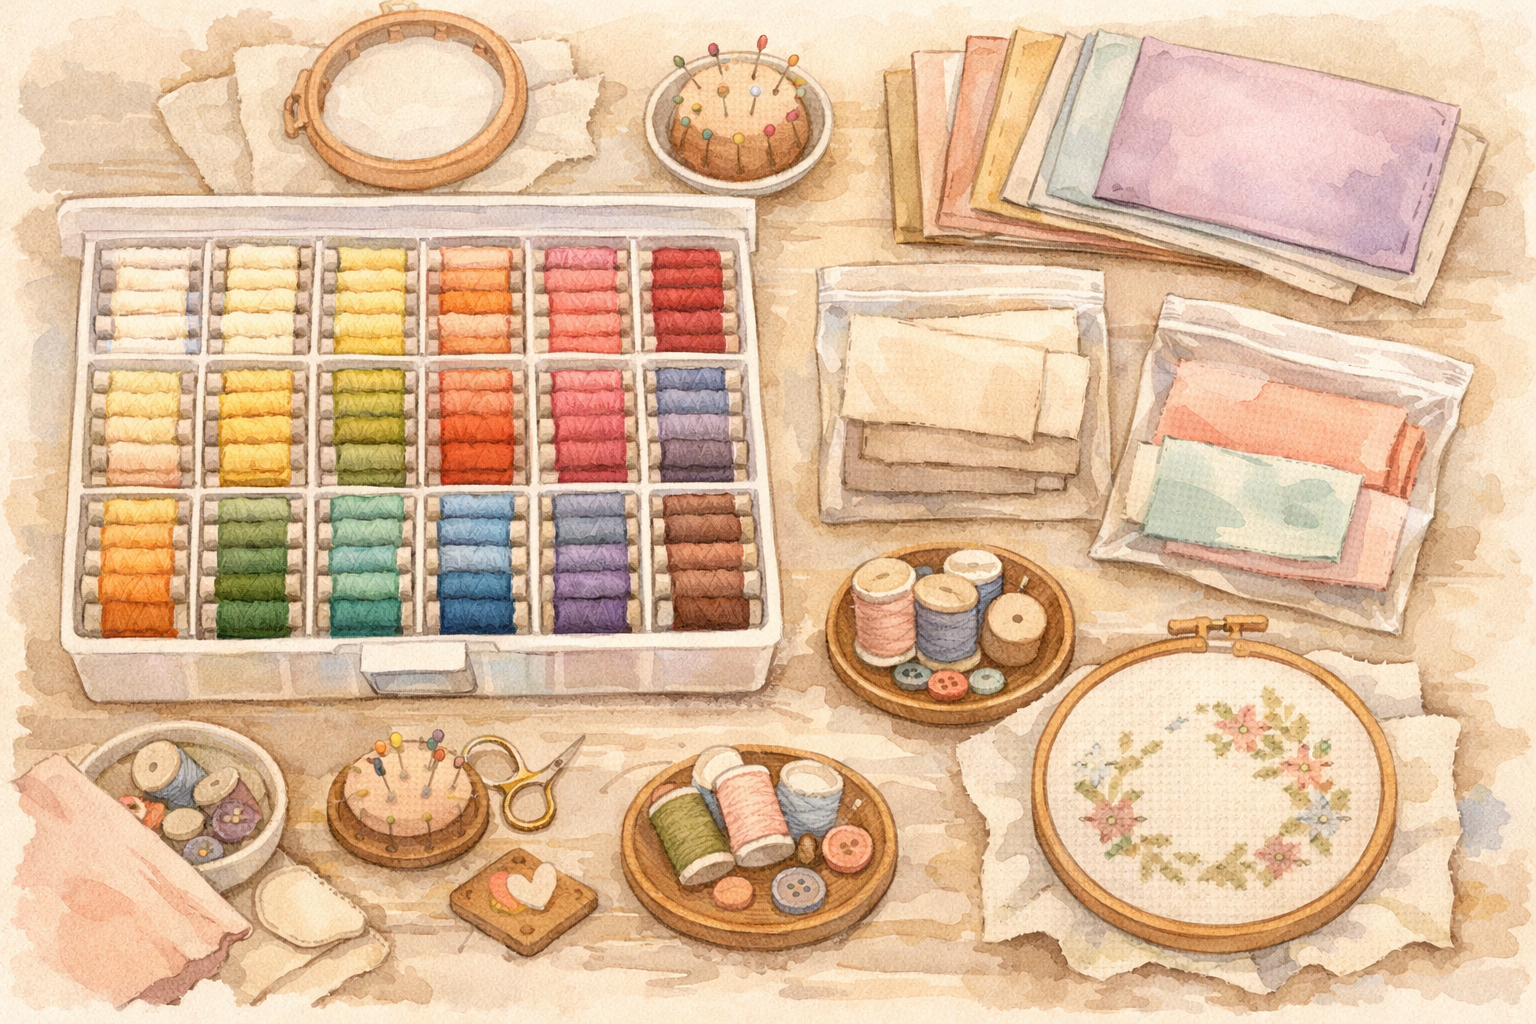
Organizing Your Cross-Stitch Stash
Fabric, floss, patterns, tools — your cross-stitch collection grows fast. Practical storage and organization strategies to keep your stash tidy and accessible.
Stitching on Dark and Colored Fabrics
Dark and colored fabrics create stunning effects but come with unique challenges. Master the techniques for working with black, navy, and colored Aida and evenweave.

Gridding Your Fabric: Techniques for Accurate Stitching
Gridding your fabric creates a visual guide that makes counting almost foolproof. Learn thread gridding, pen gridding, and other methods to keep your stitches on track.