Mastering Backstitch and Specialty Stitches
Mastering Backstitch and Specialty Stitches
You’ve nailed the basic cross-stitch, and your projects are looking great. But if you’ve ever wondered how some pieces have crisp outlines, tiny raised dots, or smooth shading that seems to go beyond simple X’s — that’s the magic of specialty stitches. These techniques are what separate a good piece from one that makes people say, “Wait, that’s cross-stitch?”
When to Add Specialty Stitches
Here’s the golden rule: complete all your cross-stitches first, then add specialty stitches last. This isn’t just a suggestion — it’s a workflow that will save you from headaches. Backstitch and French knots sit on top of your cross-stitches, and if you add them too early, you’ll constantly be working around them, catching them with your needle, and potentially distorting them.
Warning
The order should be:
- All full cross-stitches
- Half stitches and quarter stitches
- Backstitch outlines
- French knots and other raised stitches
Backstitch: Clean Lines and Crisp Outlines
Backstitch is by far the most common specialty stitch. It creates continuous lines that define shapes, add lettering, and separate color areas. If cross-stitches are the pixels, backstitch is the ink outline that brings everything into focus.
How to Backstitch
Backstitch works in straight lines, following the grid of your fabric:
- Bring your needle up at point A (one hole length ahead of where you want the line to start).
- Push the needle down at point B (one hole behind point A — you’re stitching backward).
- Bring the needle up at point C (one hole length ahead of point A).
- Push the needle down at point A (back into the hole where you started).
- Continue this pattern: always coming up one space ahead, going back into the last hole.
Each backstitch should span one square of your fabric grid unless the pattern specifically calls for longer stitches.
Backstitch — Step-by-Step
Bring needle up one stitch length ahead
Tips for Clean Backstitch
Tip
Use fewer strands. While your cross-stitches might use 2 strands on 14-count Aida, backstitch typically uses just 1 strand. This creates a fine, elegant line that defines without overwhelming. Check your pattern — it will specify the strand count.
Maintain consistent tension. Backstitch should lay flat against the fabric without puckering. Pull each stitch snug but not tight. If the fabric dimples where your backstitch is, you’re pulling too hard.
Stitch in the right direction. Work your backstitch lines in a consistent direction when possible. For horizontal lines, stitch left to right. For vertical lines, stitch top to bottom. This keeps tension even and prevents the thread from catching on completed stitches.
Handle corners carefully. When your backstitch line changes direction, share the corner hole. Bring your needle down into the corner hole to end one segment, then bring it up at the next point in the new direction. Don’t skip the corner or double-stitch into it.
Follow the grid. Unless your pattern explicitly shows diagonal backstitch, keep your lines horizontal and vertical. Diagonal backstitches spanning one square are fine, but longer diagonal lines can look uneven — most designers avoid them.
Common Backstitch Mistakes
- Stitching too early: Adding backstitch before your cross-stitches are complete. You’ll catch your backstitch thread constantly.
- Too many strands: Using 2 strands when 1 is called for creates chunky outlines that overpower the design.
- Inconsistent length: Making some stitches span 2 squares while others span 1 creates a wobbly line. Stick to what the pattern shows.
- Skipping the backstitch entirely: Some stitchers find backstitch tedious and skip it. Don’t! The difference it makes is dramatic. A design can go from muddy and unclear to sharp and beautiful with backstitch.
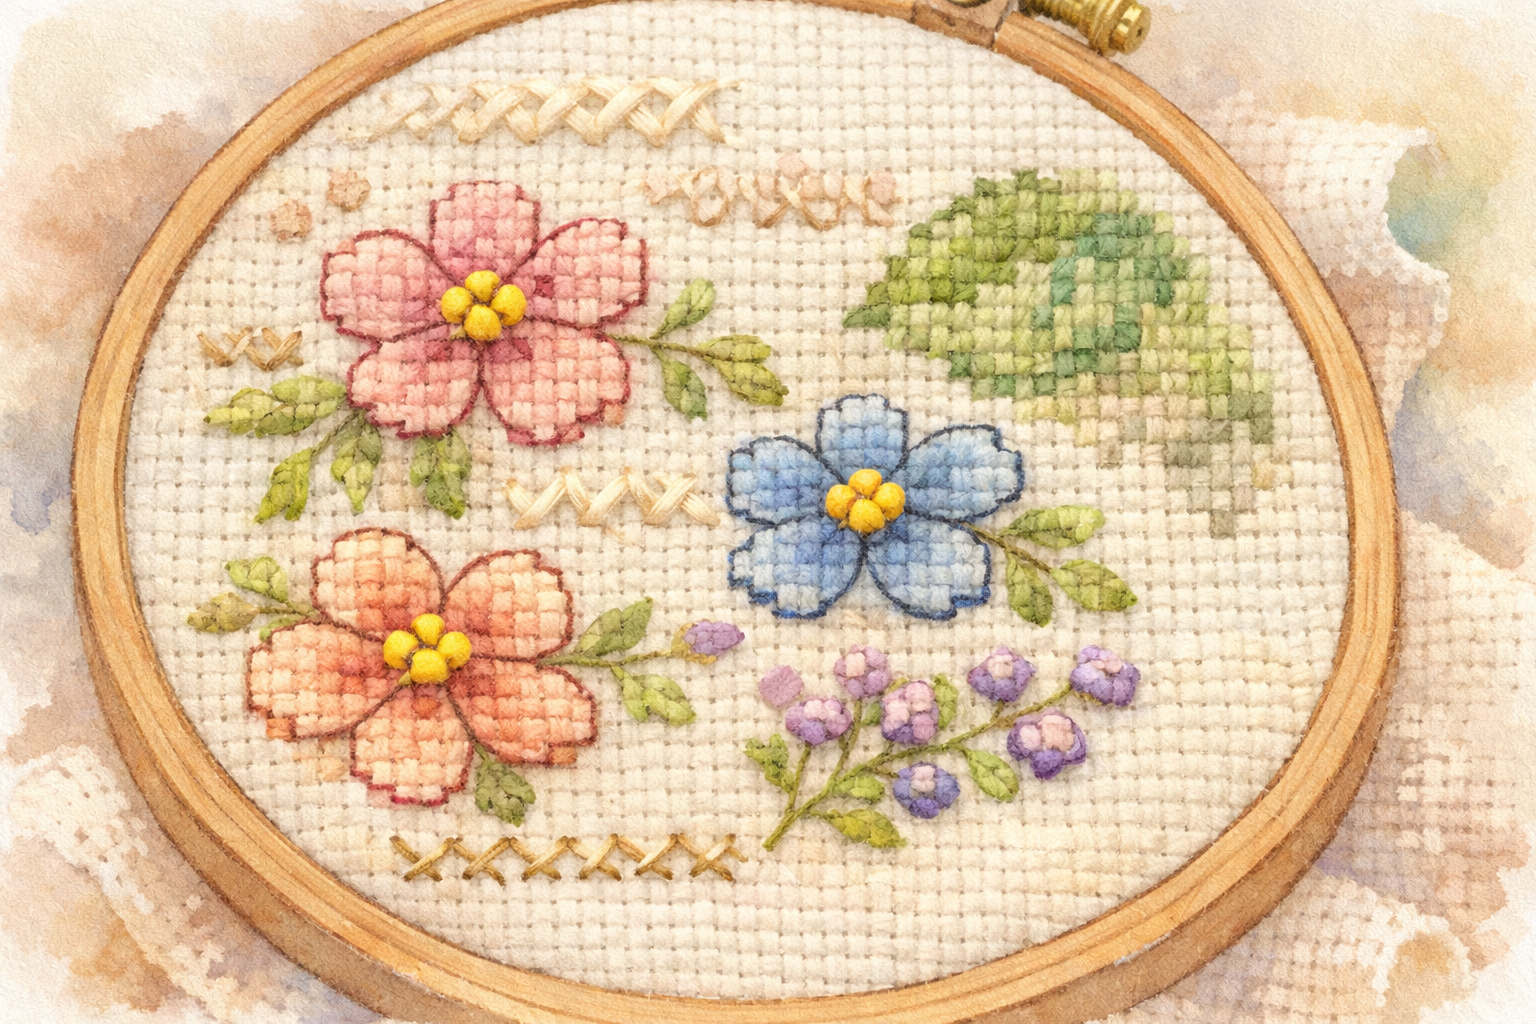
French Knots: Tiny Dots of Dimension
French knots are the most feared specialty stitch, and honestly, they deserve their reputation — at first. But once you get the technique down, they become one of the most satisfying stitches you’ll make. They create small, raised dots perfect for eyes, flower centers, snow, stars, and any small detail that needs texture.
Step-by-Step French Knots
- Come up through the fabric where you want the knot.
- Hold the thread taut with your non-needle hand, about 2-3 inches from the fabric surface.
- Wrap the thread around the needle shaft twice (for a standard-size knot). Wrap away from yourself — consistency matters.
- Keep tension on the wrapped thread with your fingers. This is the critical step. If you let go, the wraps will loosen and your knot will be floppy.
- Insert the needle back into the fabric one thread away from where you came up. Not in the same hole — right next to it. Inserting in the same hole will pull the knot through to the back.
- Push the needle through while maintaining tension on the wraps with your other hand until the knot is snug against the fabric.
- Pull the thread all the way through to the back.
French Knot — Step-by-Step
Bring needle up through the fabric
French Knot Tips
Tip
Practice on scrap fabric first. Make 20 French knots before putting one on your project. The muscle memory for tension control takes repetition.
Consistent wraps = consistent size. One wrap makes a small knot. Two wraps are standard. Three wraps make a larger knot. Your pattern will specify, but 2 wraps is the default.
Use a smaller needle if your knots keep pulling through. A size 26 needle instead of size 24 can help.
Don’t rush. French knots require both hands working together. Slow down, keep tension, and they’ll come out beautifully.
Alternative: colonial knots. If French knots truly frustrate you, colonial knots produce a similar look with a figure-eight wrapping technique that some stitchers find easier to control. The results are nearly identical.
Half Stitches: Creating Depth and Shading
A half stitch is exactly what it sounds like — just the bottom leg of a cross-stitch (one diagonal). Half stitches create a lighter, more transparent look compared to full crosses, which makes them incredibly useful for:
- Backgrounds that should recede behind the main subject
- Shading and gradients that transition between full coverage and bare fabric
- Atmospheric effects like fog, water reflections, or soft shadows
Working Half Stitches
Simply stitch the bottom diagonal (/) without completing the top diagonal. Make sure your half stitches go in the same direction as the bottom leg of your regular cross-stitches for visual consistency.
Half stitches use less thread than full crosses, so your coverage will look lighter and the fabric will show through slightly. This is intentional and part of the effect.
Quarter and Three-Quarter Stitches: Smoother Curves
These are your tools for creating smooth curves and diagonals that would otherwise look jagged with full cross-stitches.
Quarter Stitch
A quarter stitch goes from one corner of the square to the center of the square. On Aida cloth, this means piercing the fabric in the middle of a square — yes, you can do this, though it takes a bit more force. On evenweave and linen fabrics (which have individual threads rather than woven blocks), finding the center is more intuitive.
Use a sharp needle (not your blunt tapestry needle) to pierce the center of Aida squares more easily.
Three-Quarter Stitch
A three-quarter stitch combines a half stitch with a quarter stitch:
- Stitch one full diagonal (the half stitch).
- Stitch from the adjacent corner to the center of the square (the quarter stitch).
The result fills three-quarters of the square, allowing the remaining quarter to be left empty or filled with a quarter stitch in a different color. This is how patterns create those smooth curves on circles, faces, and organic shapes.
Your pattern chart will show which corner gets the quarter stitch and which diagonal is the half stitch. Pay attention to the orientation — it matters for the final look.
Couching: Taming Long Lines
Couching is a technique for creating long, straight lines — like fishing rods, flower stems, or architectural details — that would sag if done as regular backstitch over many squares.
How to Couch
- Lay a long thread across the surface of the fabric along the line you want.
- Using a separate needle and thread, make tiny stitches over the laid thread at regular intervals (every 3-4 squares) to tack it down.
The result is a smooth, perfectly straight line that doesn’t pucker or sag. The tacking stitches should be nearly invisible — use a single strand in a matching color.
Putting It All Together
When you encounter a pattern with specialty stitches for the first time, don’t let the variety intimidate you. Each technique is simple on its own. The key is working in the right order and practicing each stitch a few times on scrap fabric before committing to your project.
Start by adding backstitch to your next project — the transformation will be so satisfying that you’ll never skip it again. Then work your way up to French knots and fractional stitches as patterns call for them.
Continue Learning
Ready to apply these techniques? These guides will help you on your journey:
- Getting Started with Cross-Stitch — nail the fundamentals before adding specialty stitches
- How to Read a Cross-Stitch Pattern Chart — learn to identify specialty stitch symbols on your pattern charts
- Common Cross-Stitch Mistakes and How to Fix Them — troubleshoot when things don’t go as planned
- Choosing Your First Cross-Stitch Project — find a project that lets you practice these new skills
More Articles
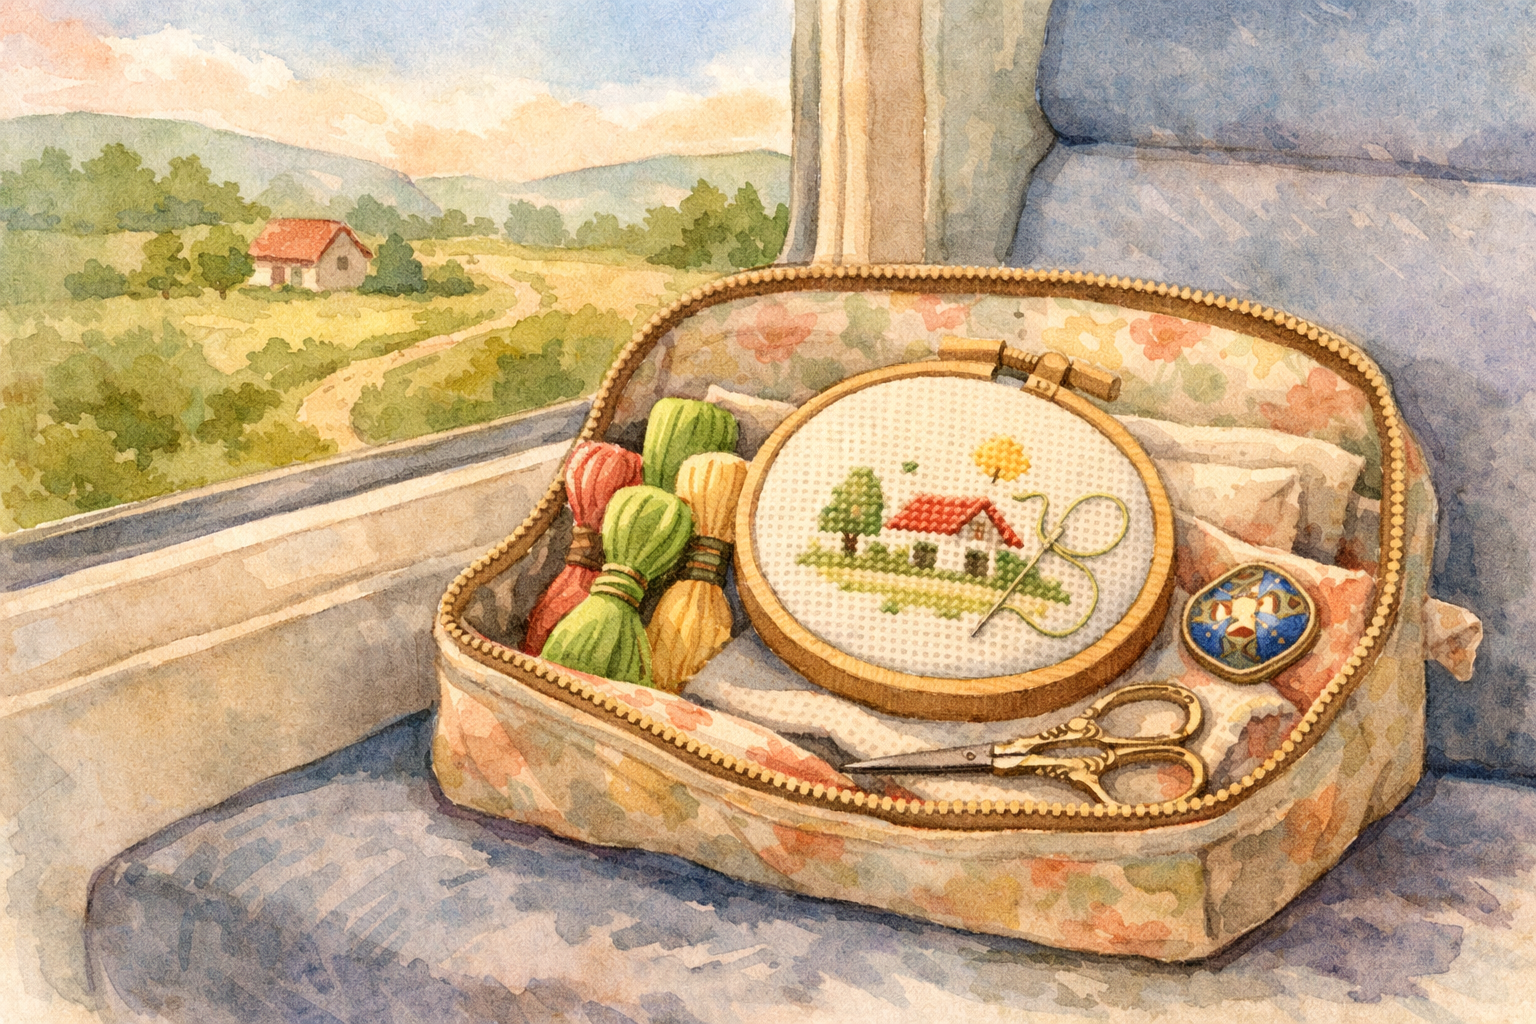
Traveling with Your Cross-Stitch Projects
Cross-stitch is the perfect portable craft. Learn how to pack your projects for travel, navigate airport security, and keep stitching wherever you go.
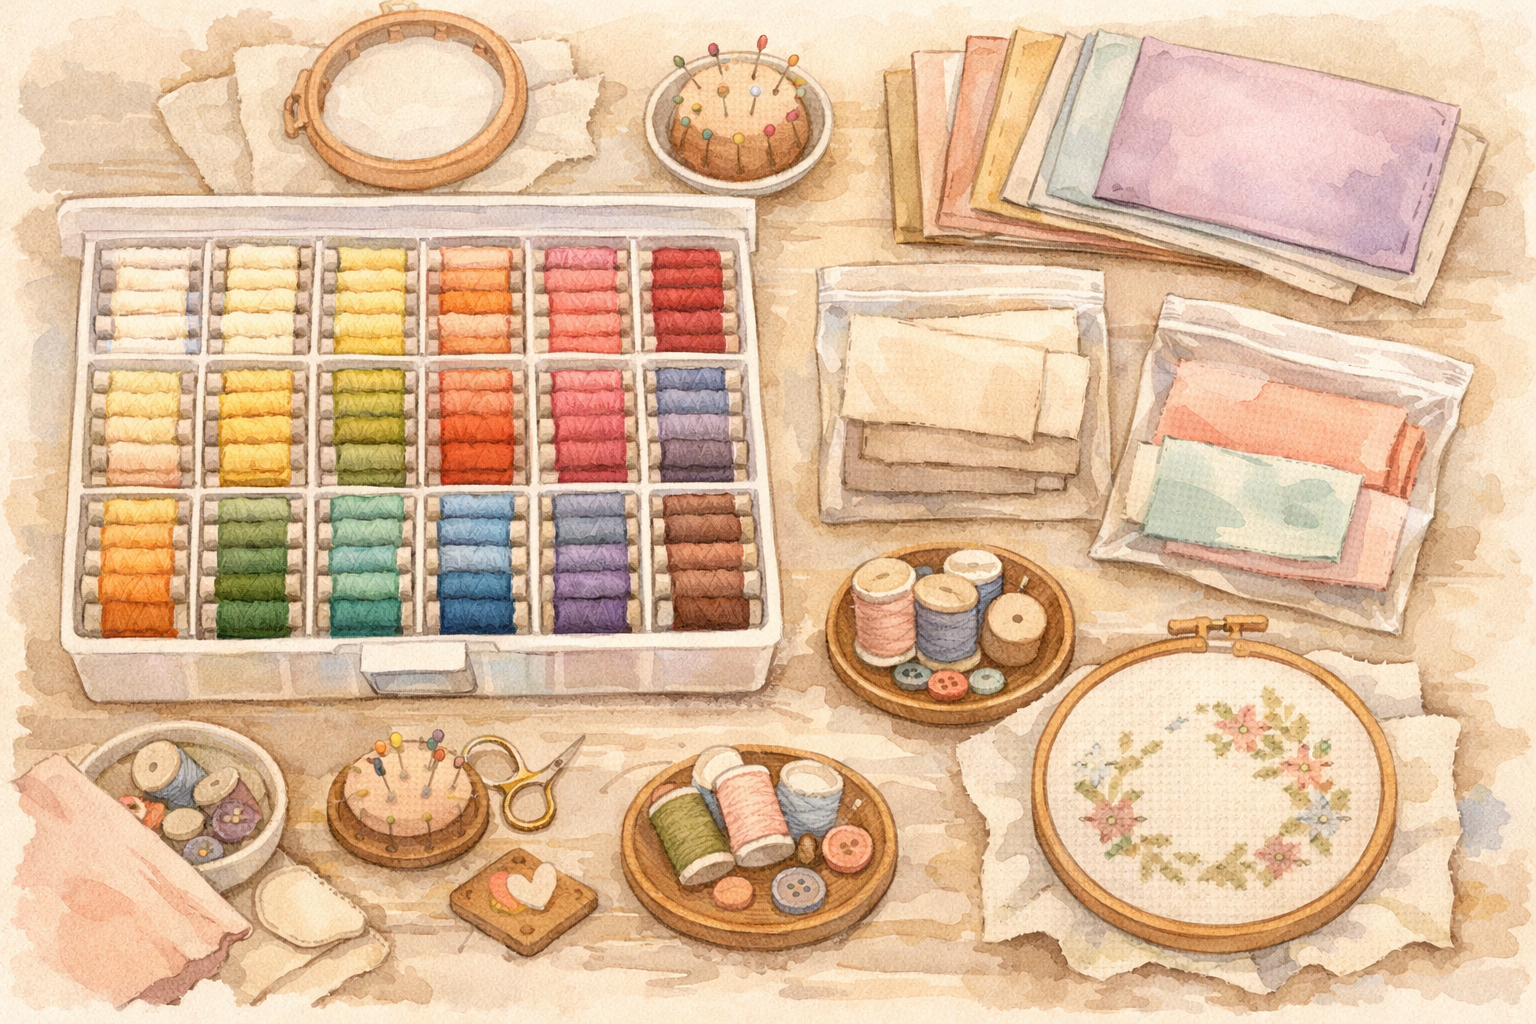
Organizing Your Cross-Stitch Stash
Fabric, floss, patterns, tools — your cross-stitch collection grows fast. Practical storage and organization strategies to keep your stash tidy and accessible.
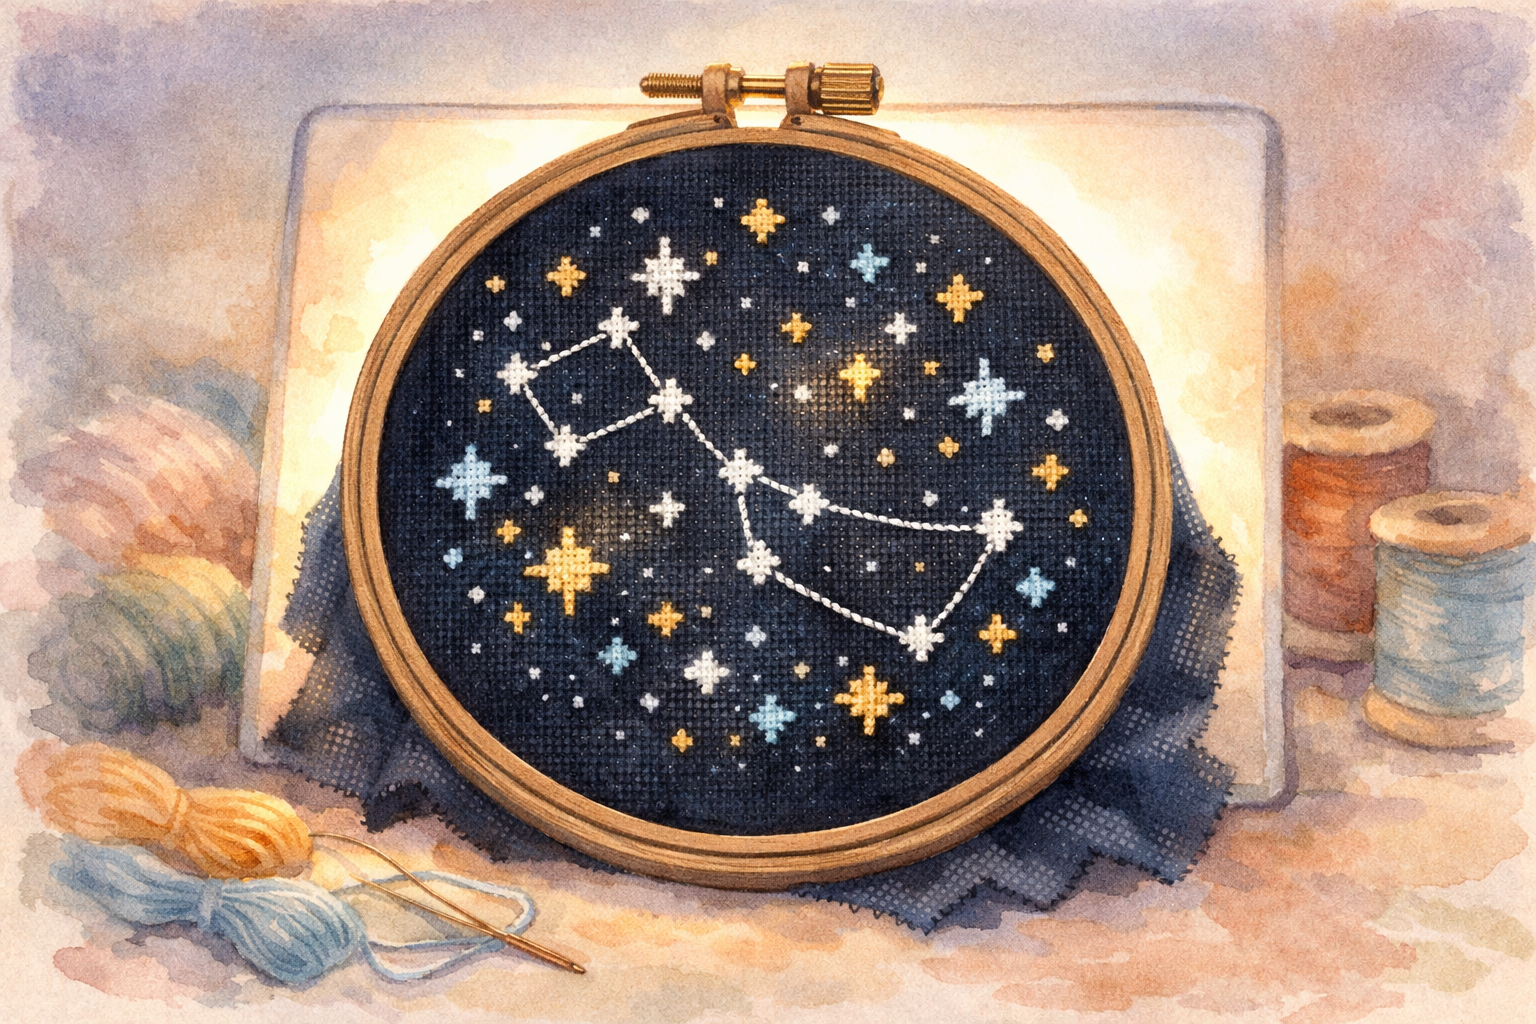
Stitching on Dark and Colored Fabrics
Dark and colored fabrics create stunning effects but come with unique challenges. Master the techniques for working with black, navy, and colored Aida and evenweave.